Converting Acustic Drum to Electronic Drum
I love playing the drums. It’s something I really enjoy, and in 2010, I started a project to make it possible to drum at home. Living in an apartment meant I couldn’t play freely due to the noise.
While browsing a drum forum, I came across a guide on converting acoustic drums into electronic drums. I read through all the instructions and comments, then decided to build my own. Even though there were plenty of ways it could fail, I took on the challenge and covered the expenses for tools and materials. I didn’t have any prior experience in the skills this project required, so I learned a lot—electronics, soldering, mechanics, and more—all from the internet.
In the end, I successfully completed the drum set, and it felt incredibly satisfying. Even better, I managed to do it on a small budget. Despite that, the drums I built are comparable to mid-range electronic drum sets on the market. The project is still a work in progress, with ongoing improvements.
1. Setup
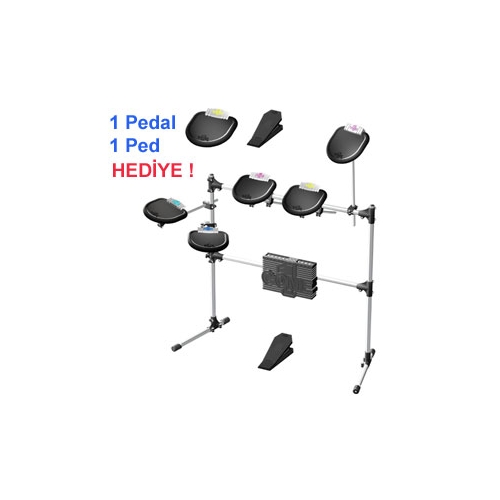
In this section, I’ll go over the basic drum rack setup. To hold everything together, I used my old Akita Come 1 rack system. It was a toy drum set my dad got me as a birthday gift, and it’s what I first learned on.
Here’s how it looked:
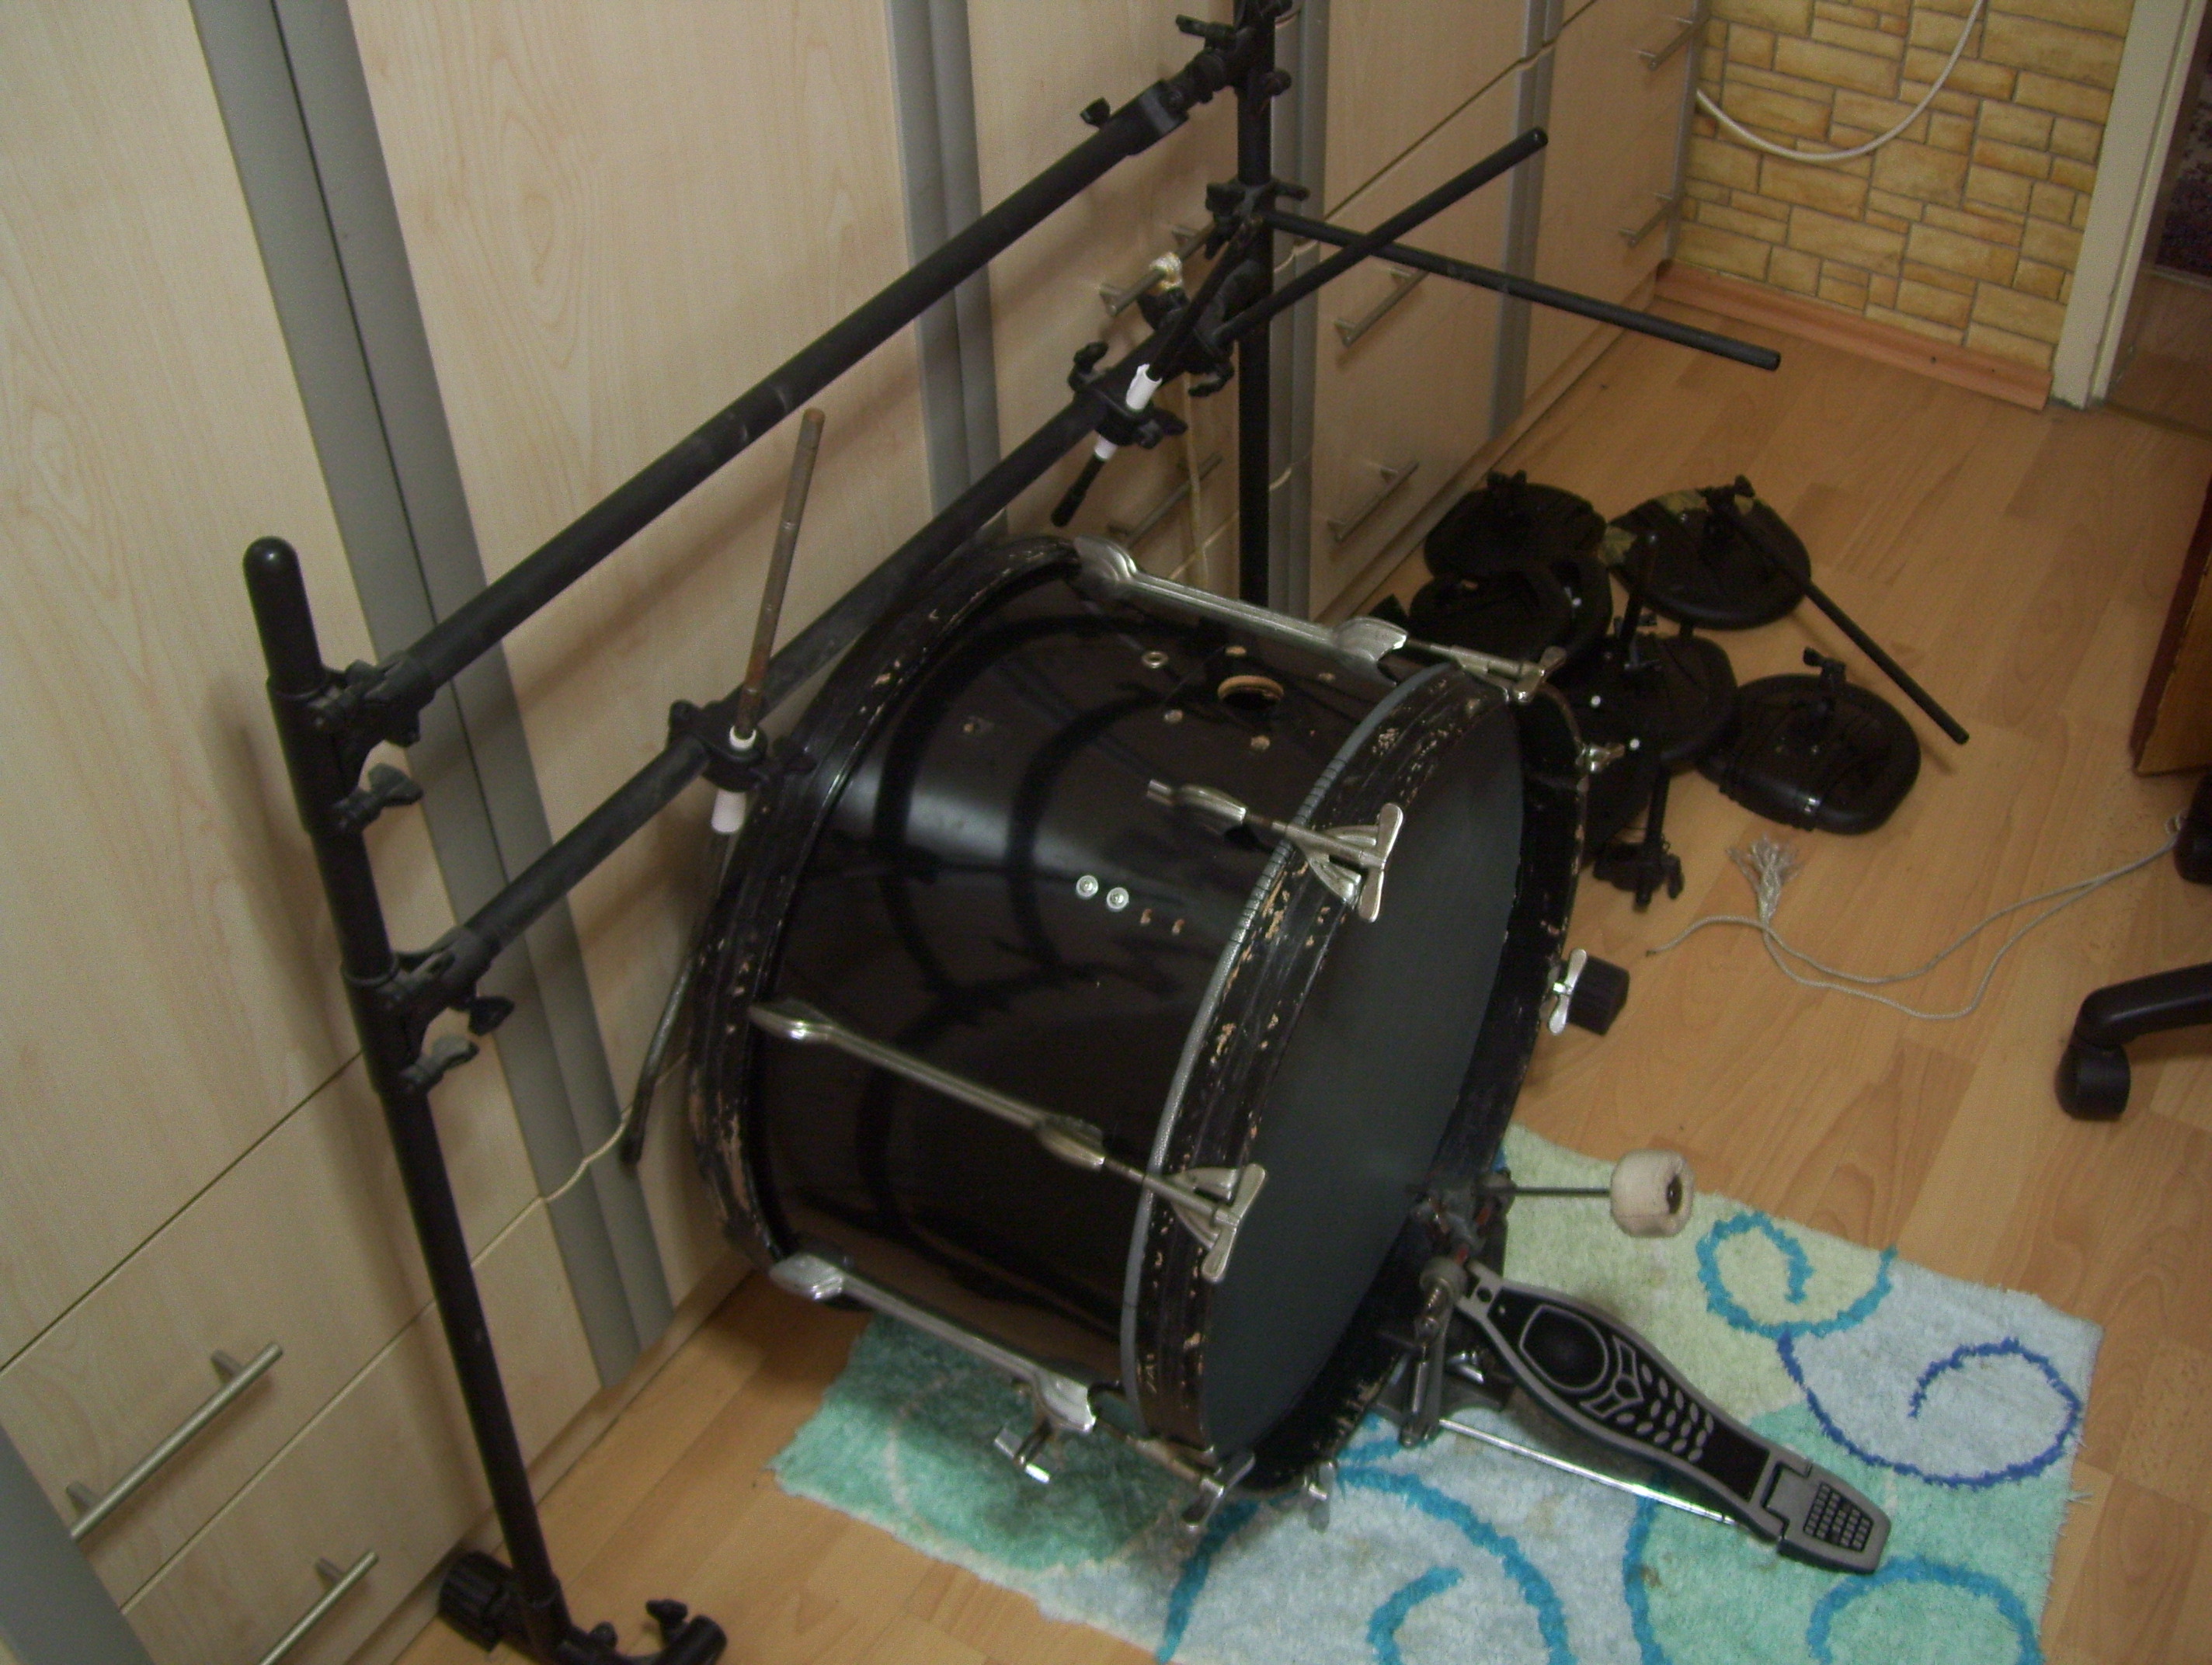
I had three full drums (1 tom, 2 floor toms, and a kick drum).
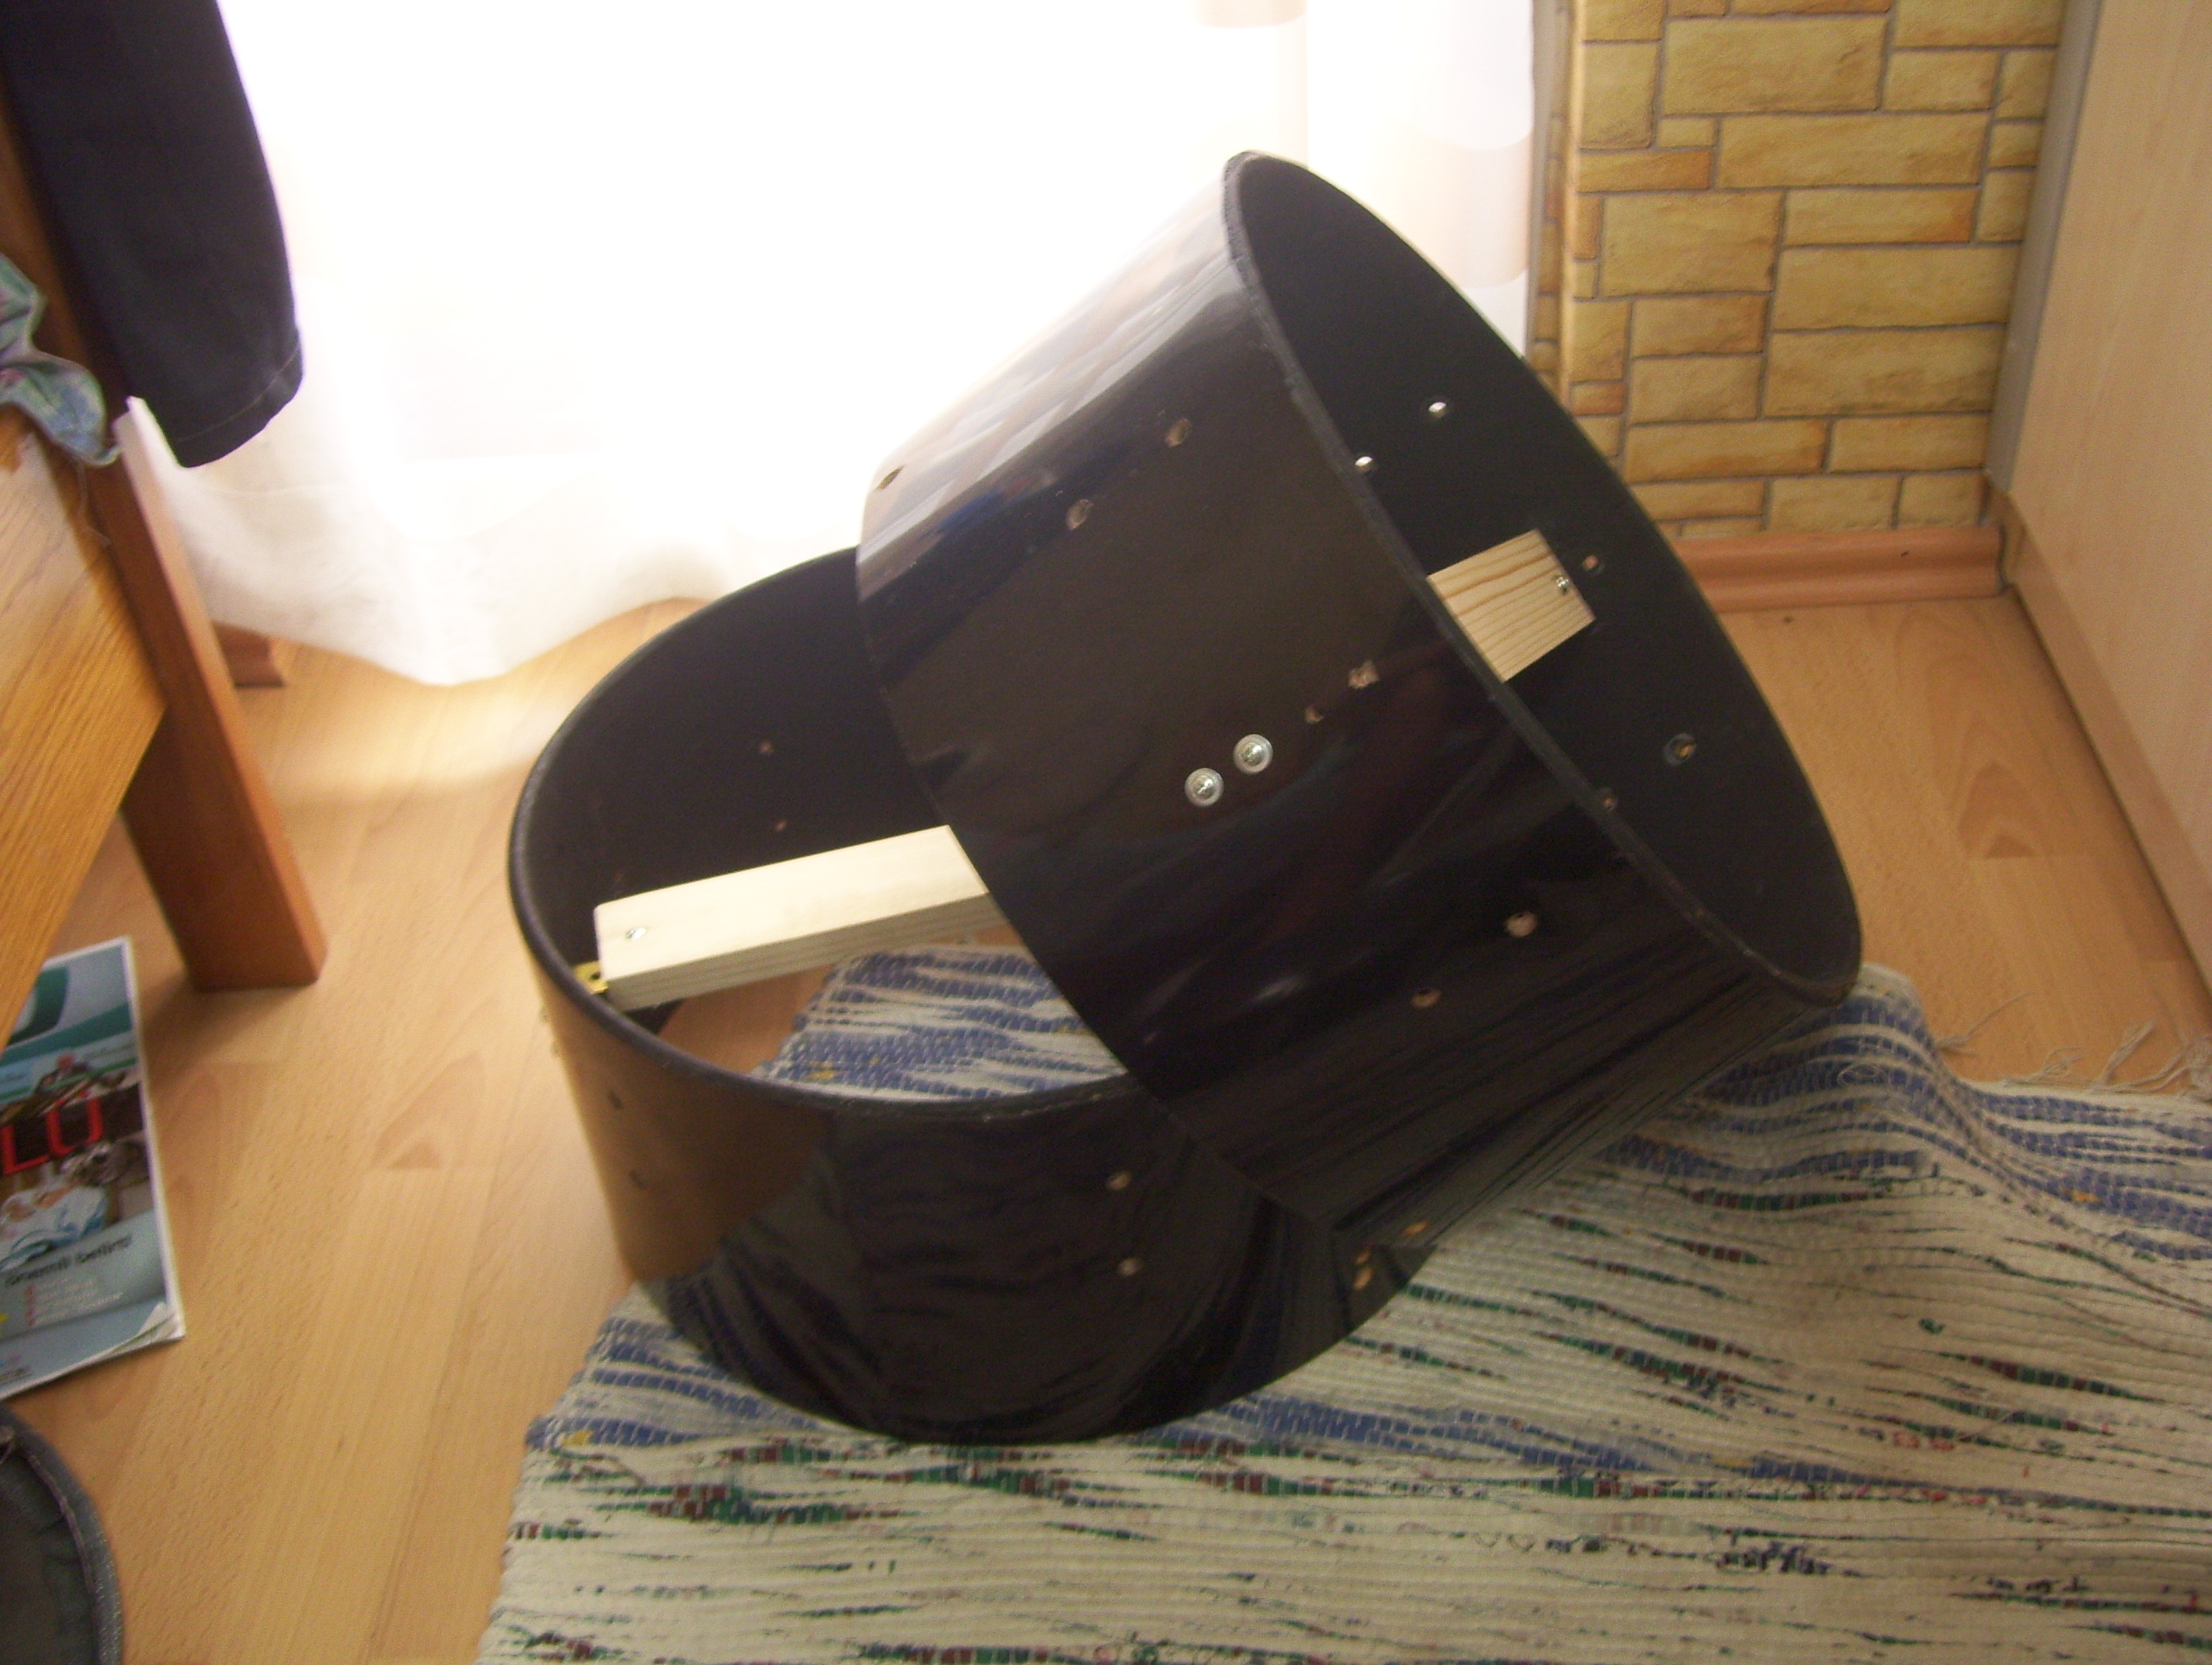
Additionally, I got another half drum from a friend to use as a snare drum. I also repurposed the pads from the old toy drum set as cymbals. After some modifications to the rack, here’s the final setup:
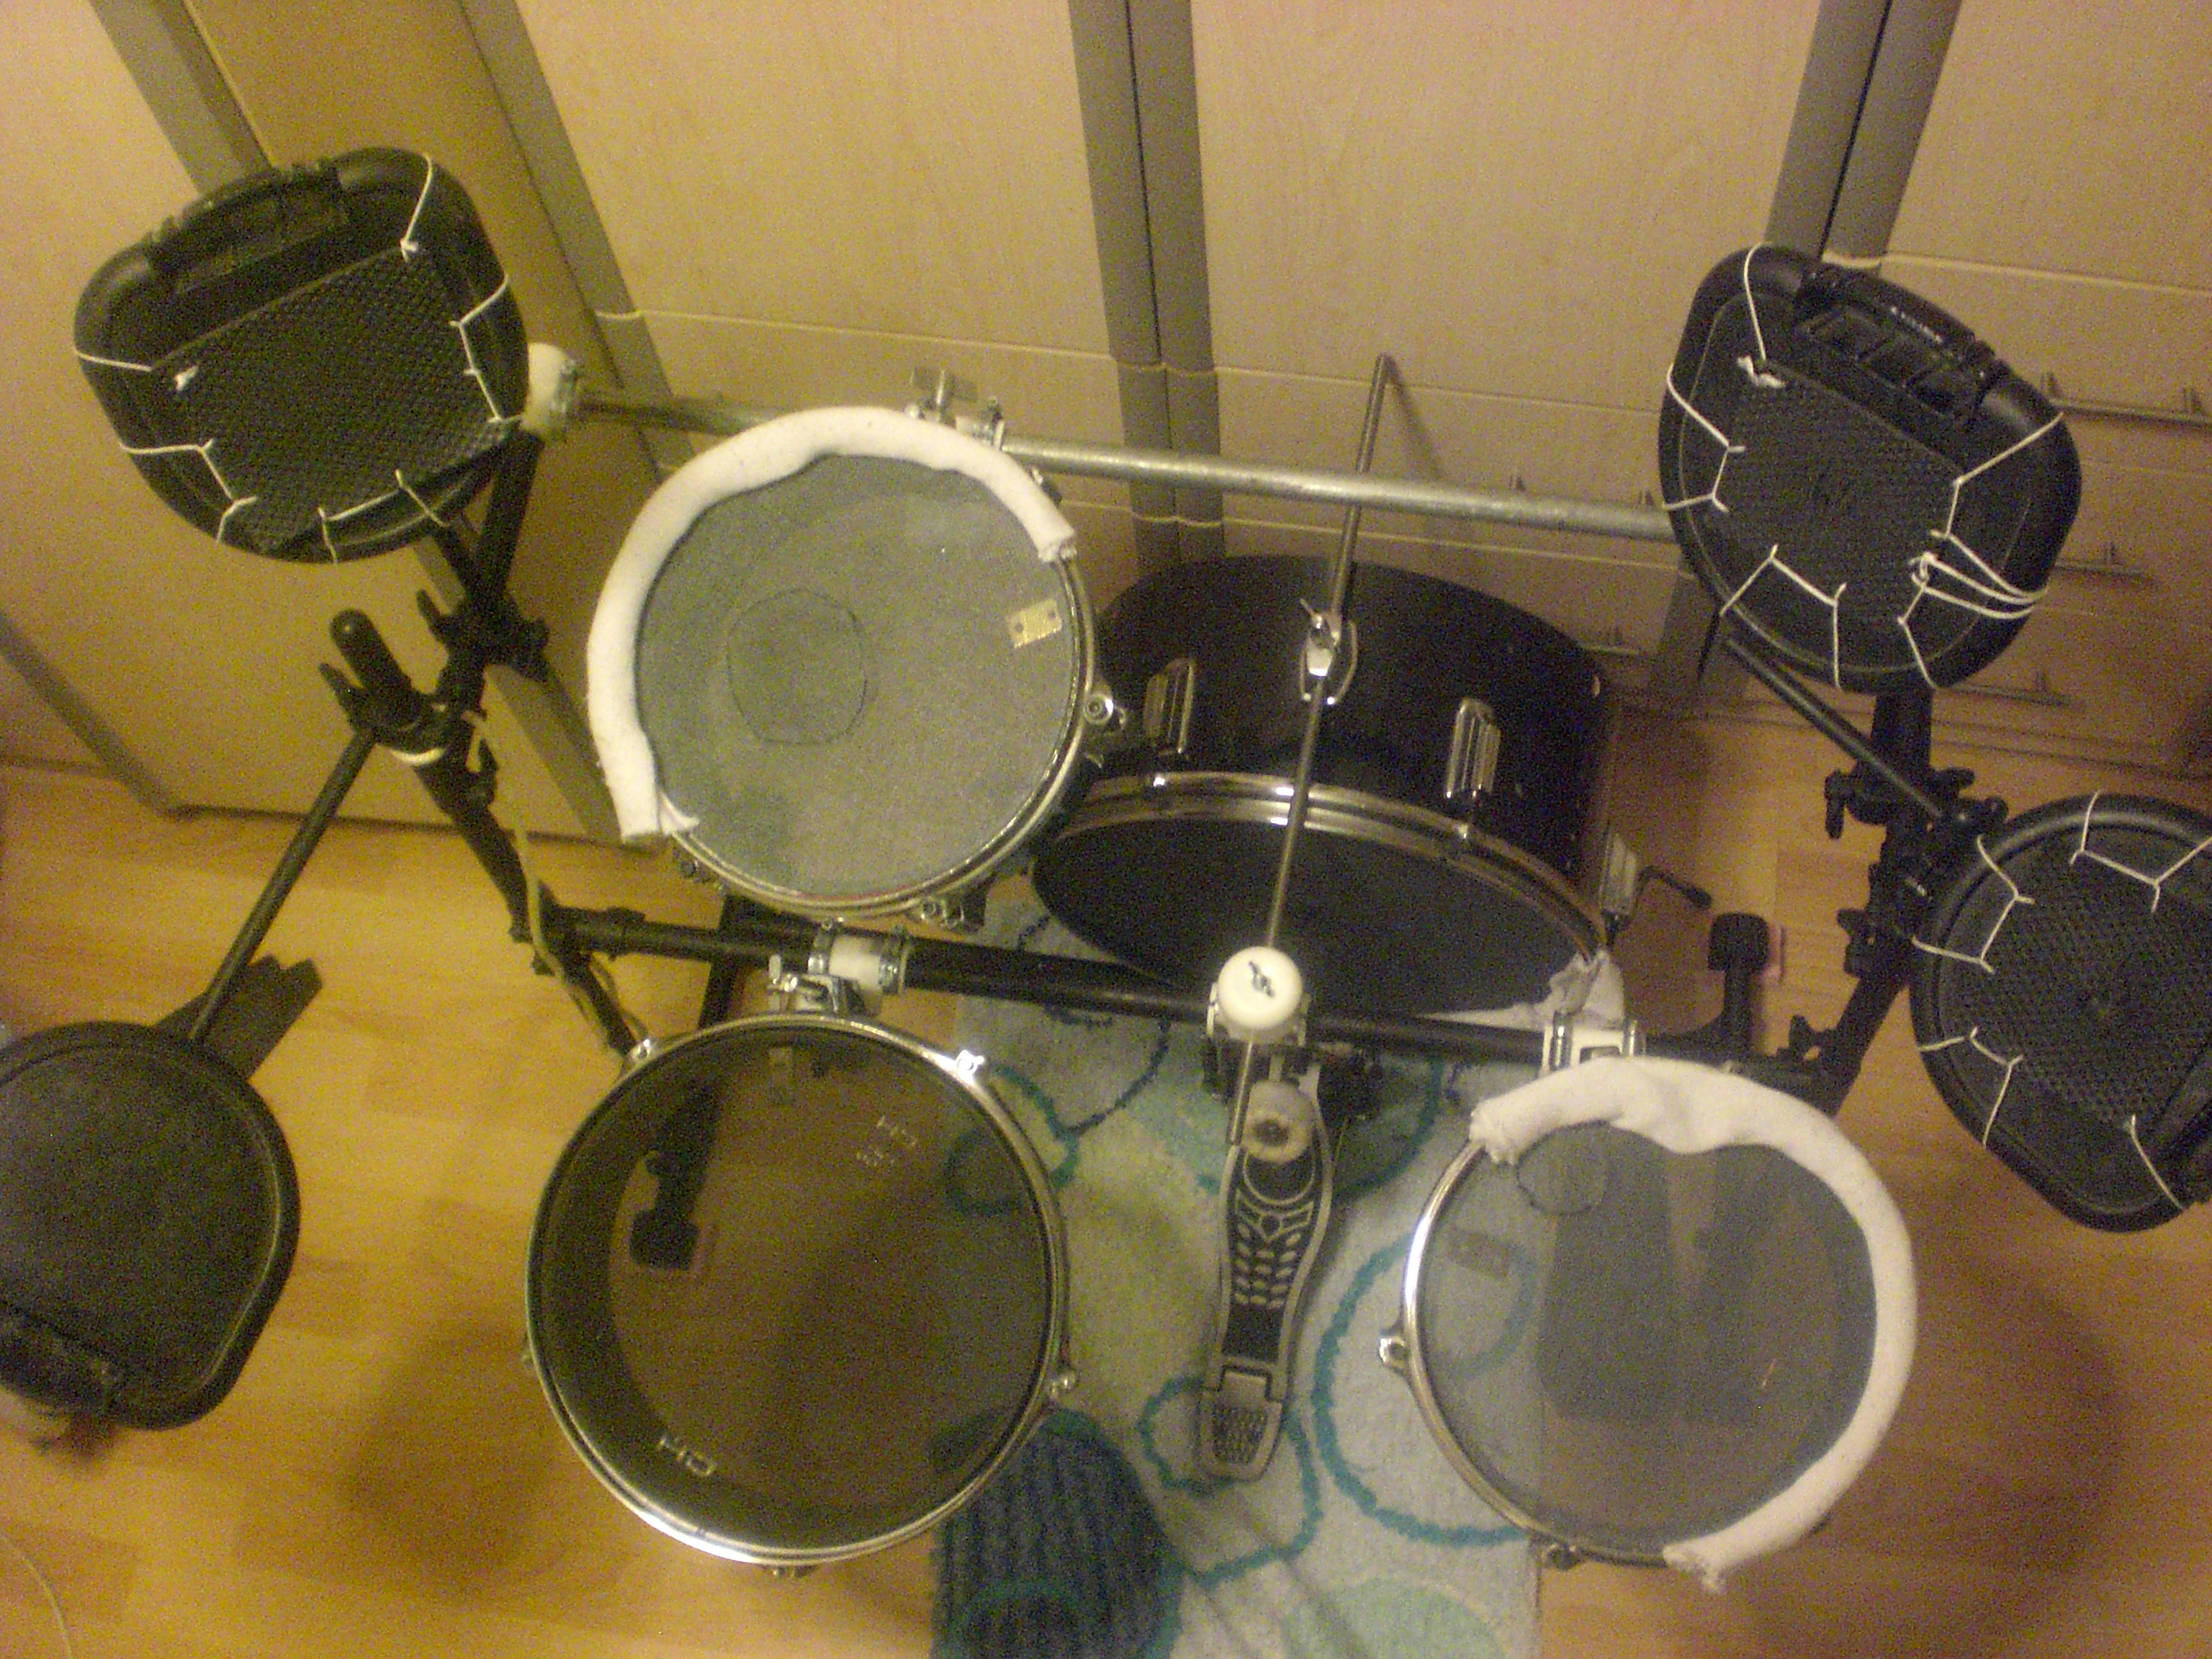
2. Triggers
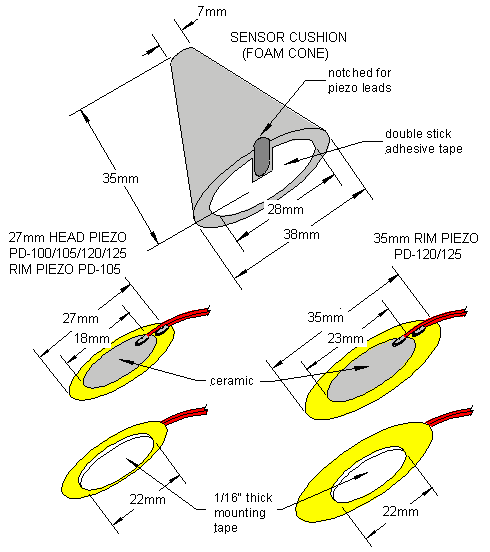
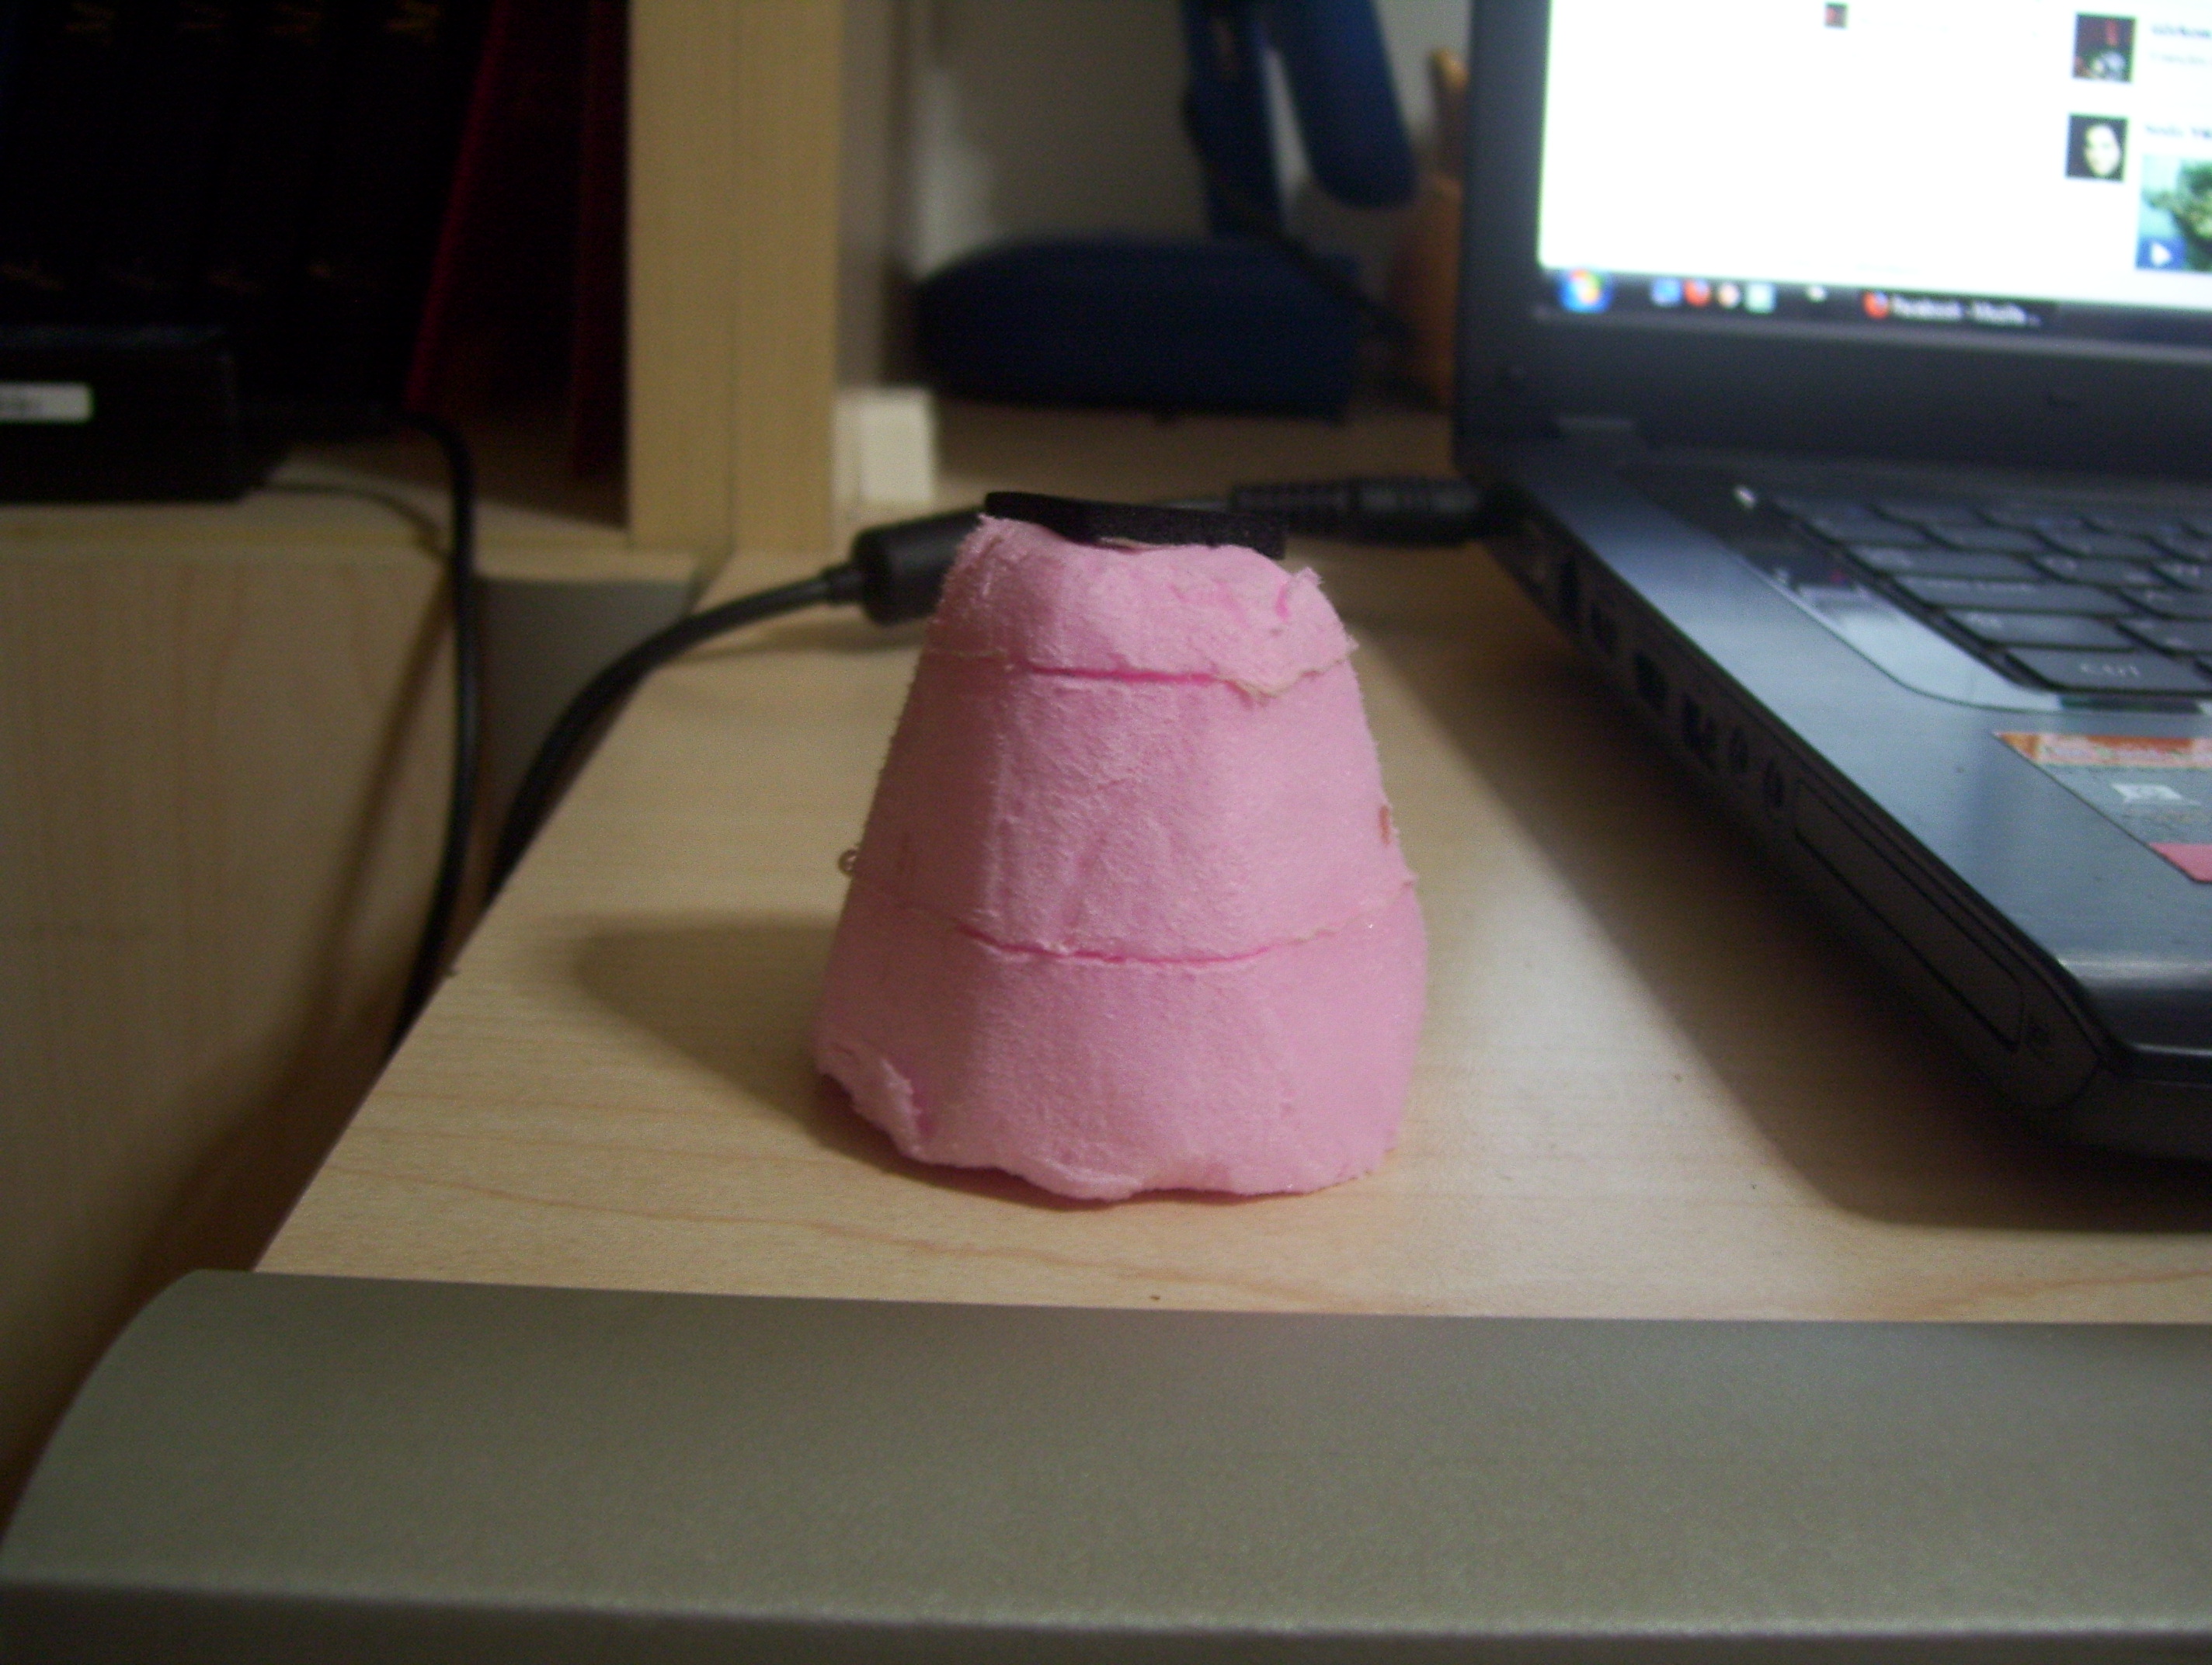
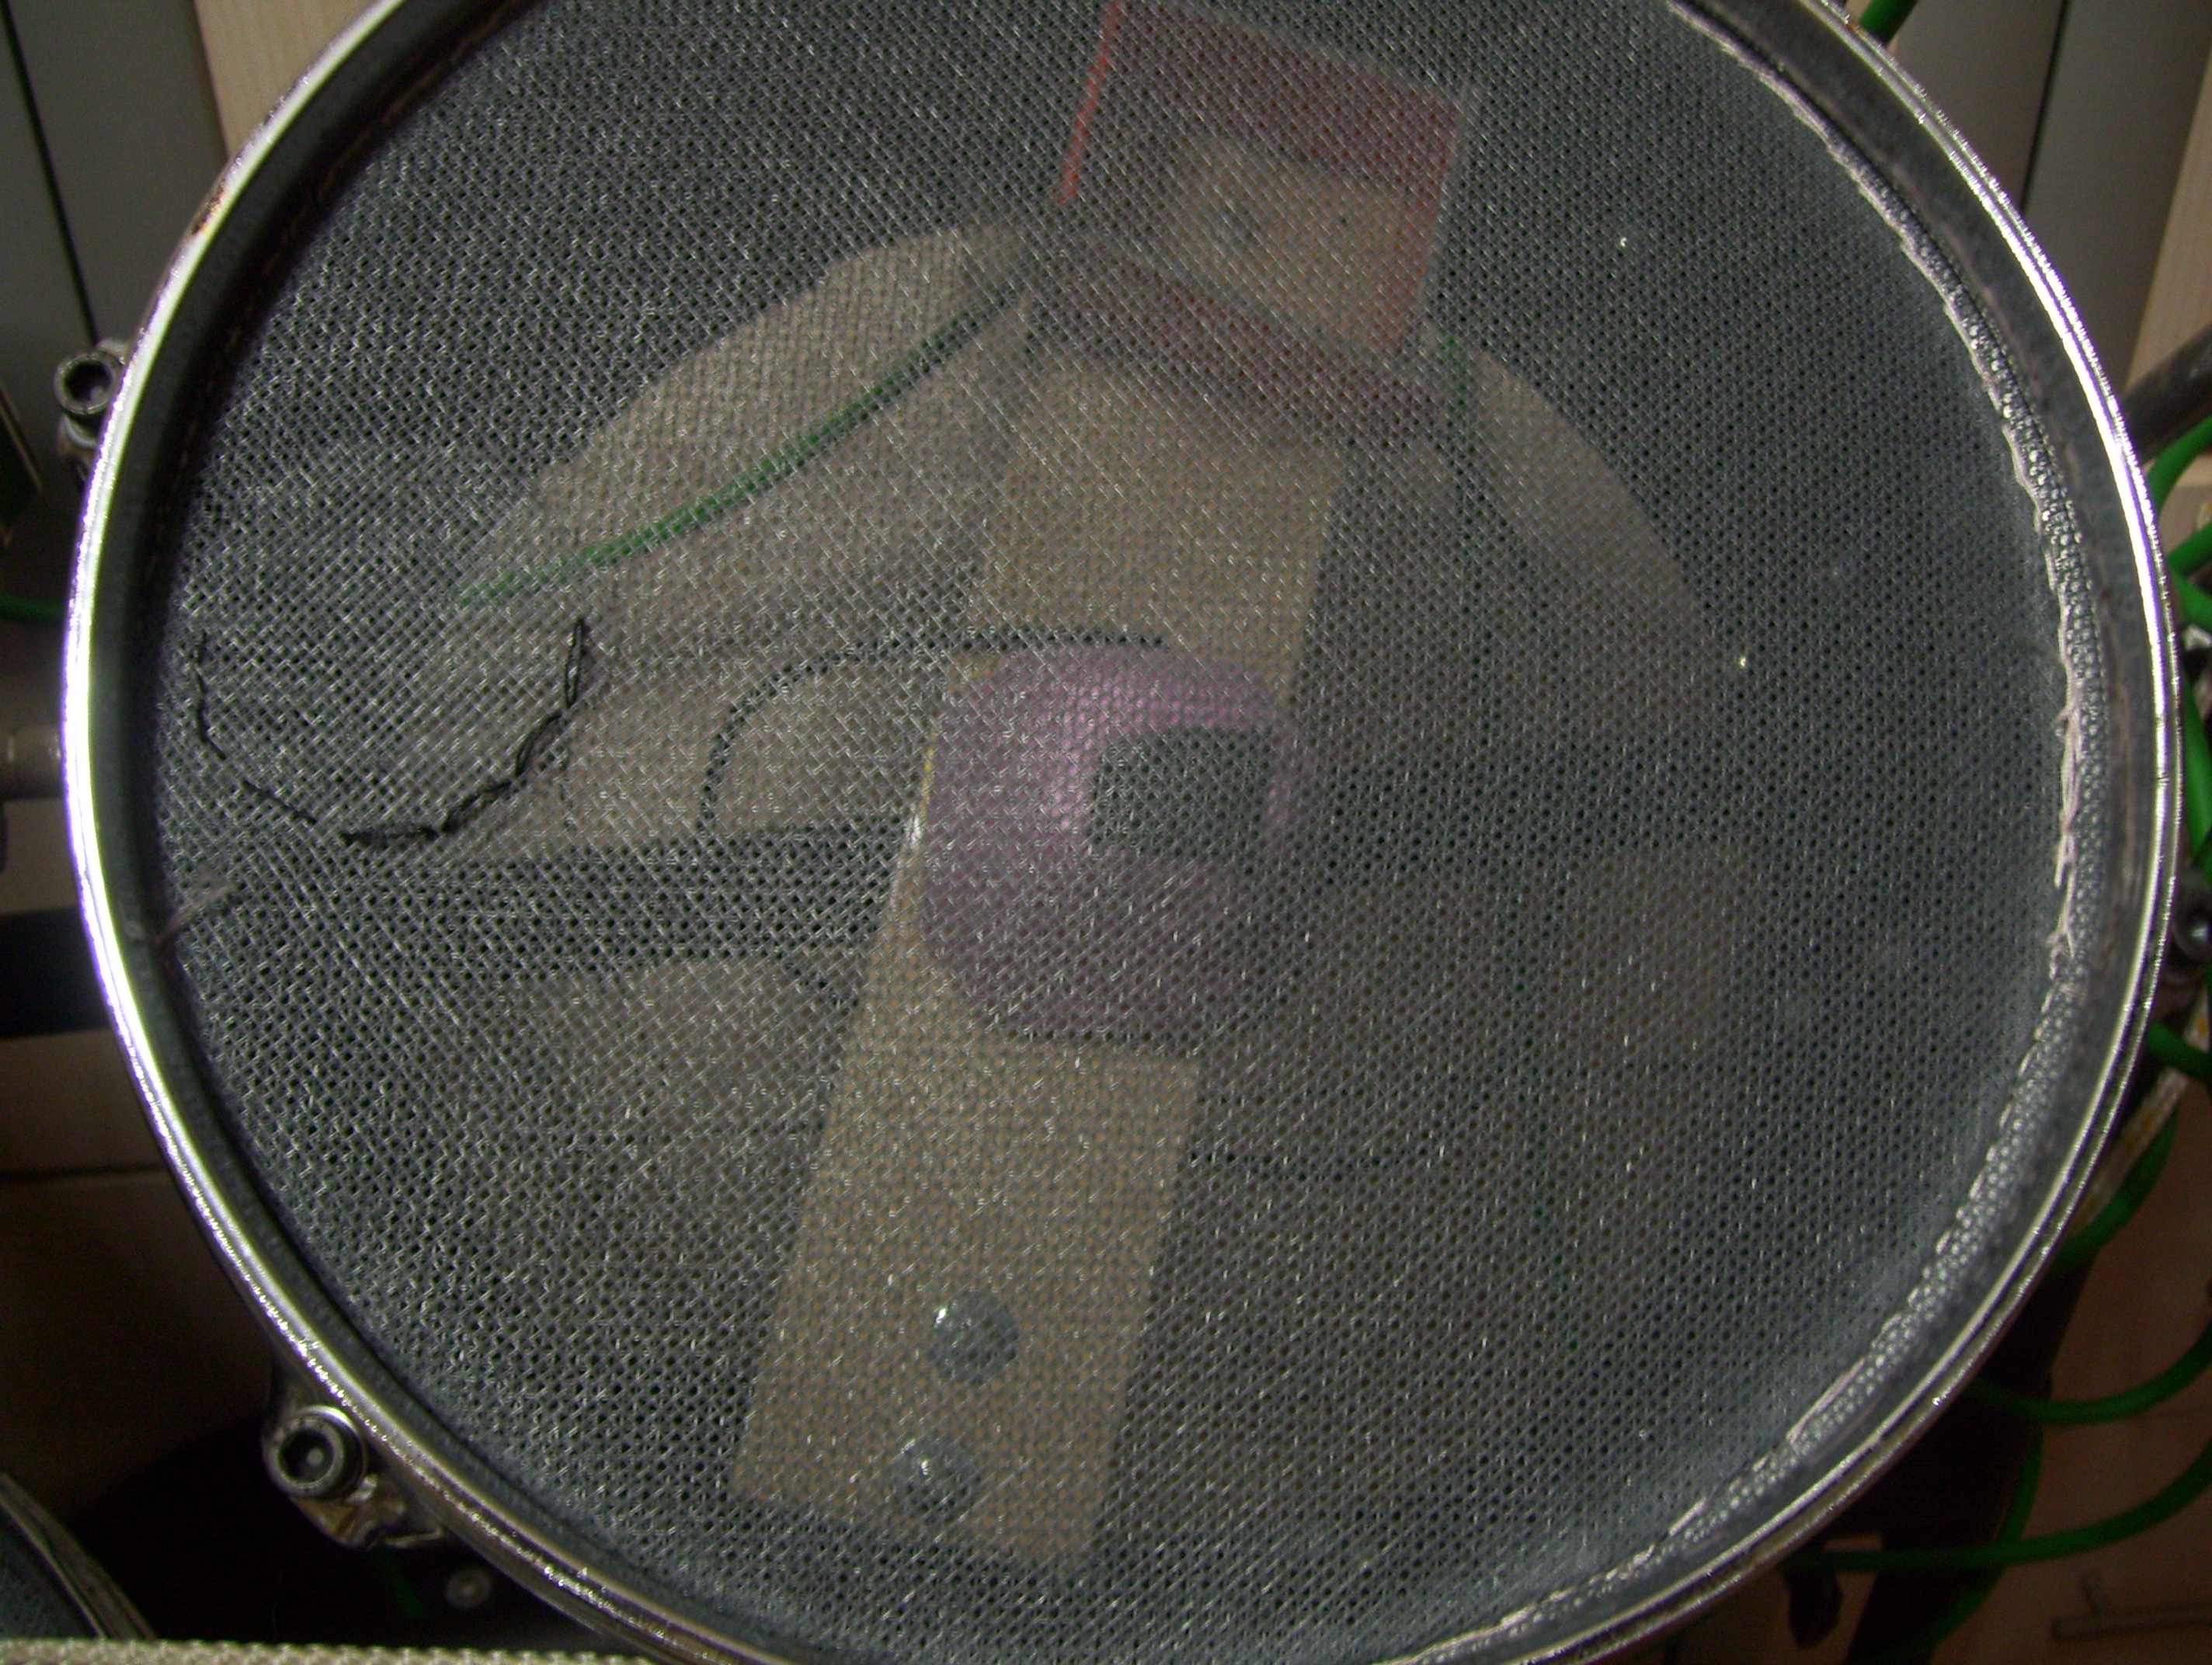
Electronic drums work by using triggers placed on the drum heads. There are various trigger designs, with some mounted beneath the drums and others externally integrated. For my setup, I built my own triggers using piezos. A piezo is a component that converts vibrations into electrical signals. The basic trigger setup involves creating foam cones and placing them on top of the piezo, as shown below (image from the Vdrums forum):
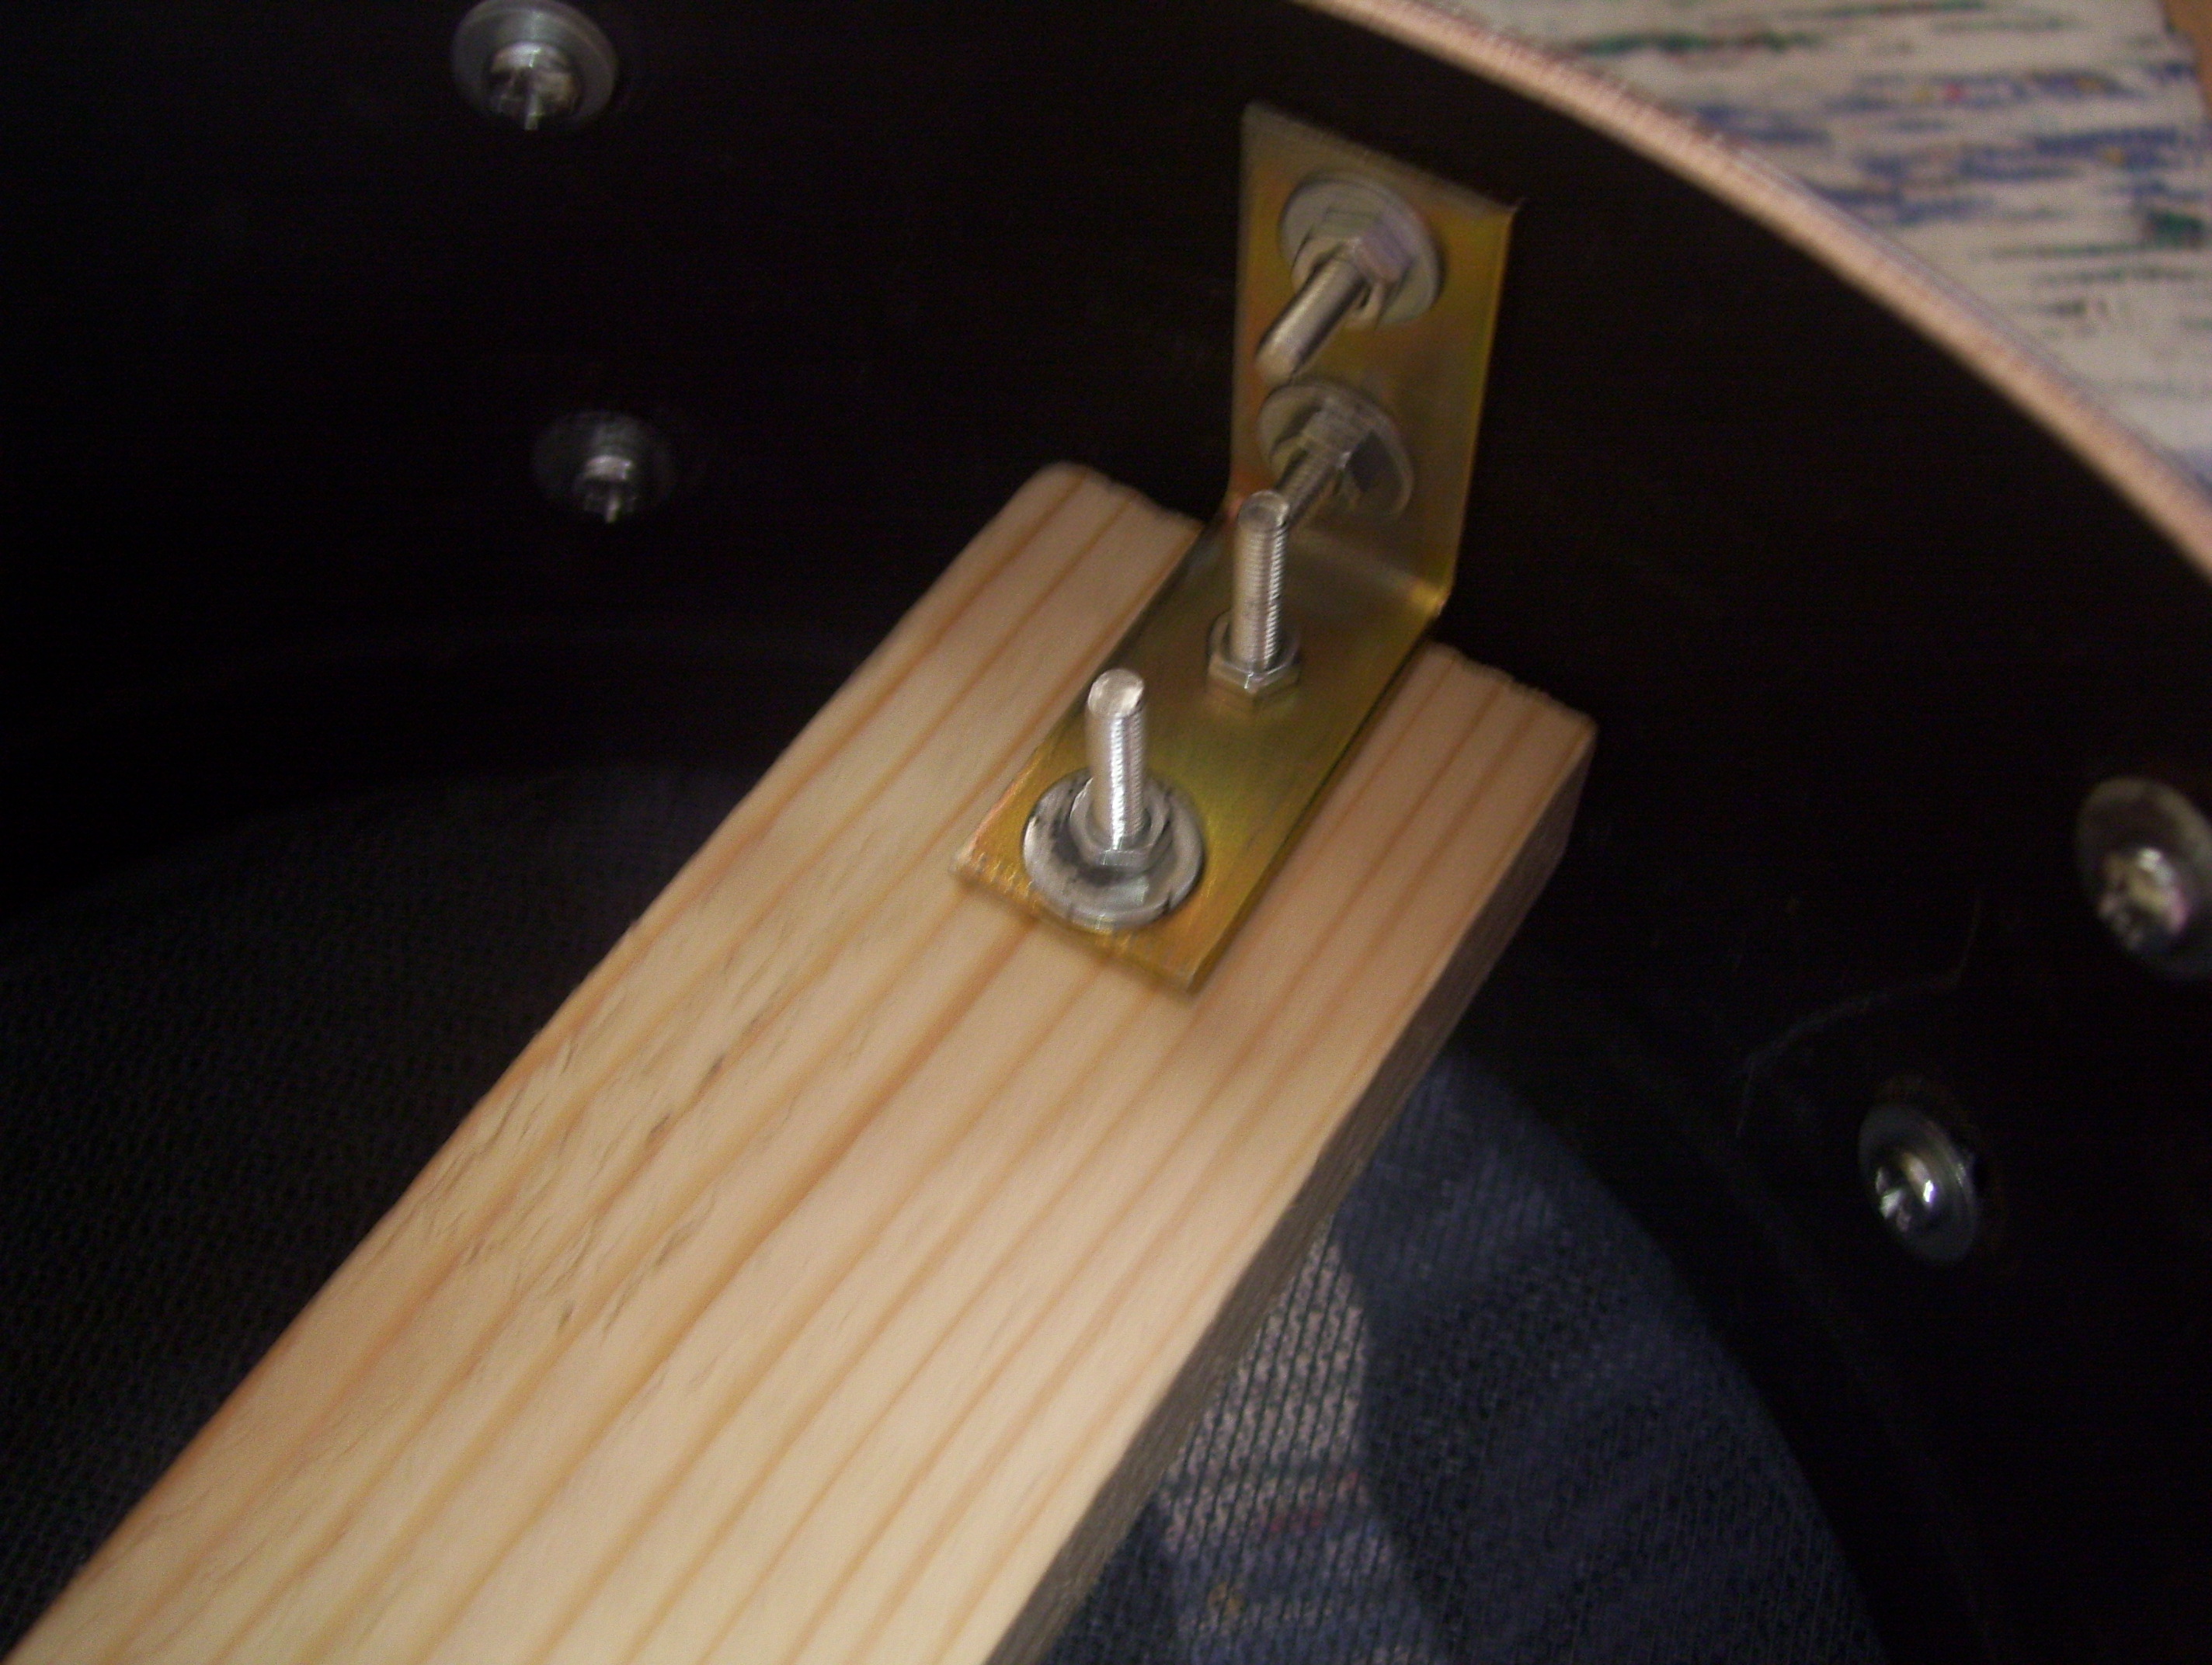
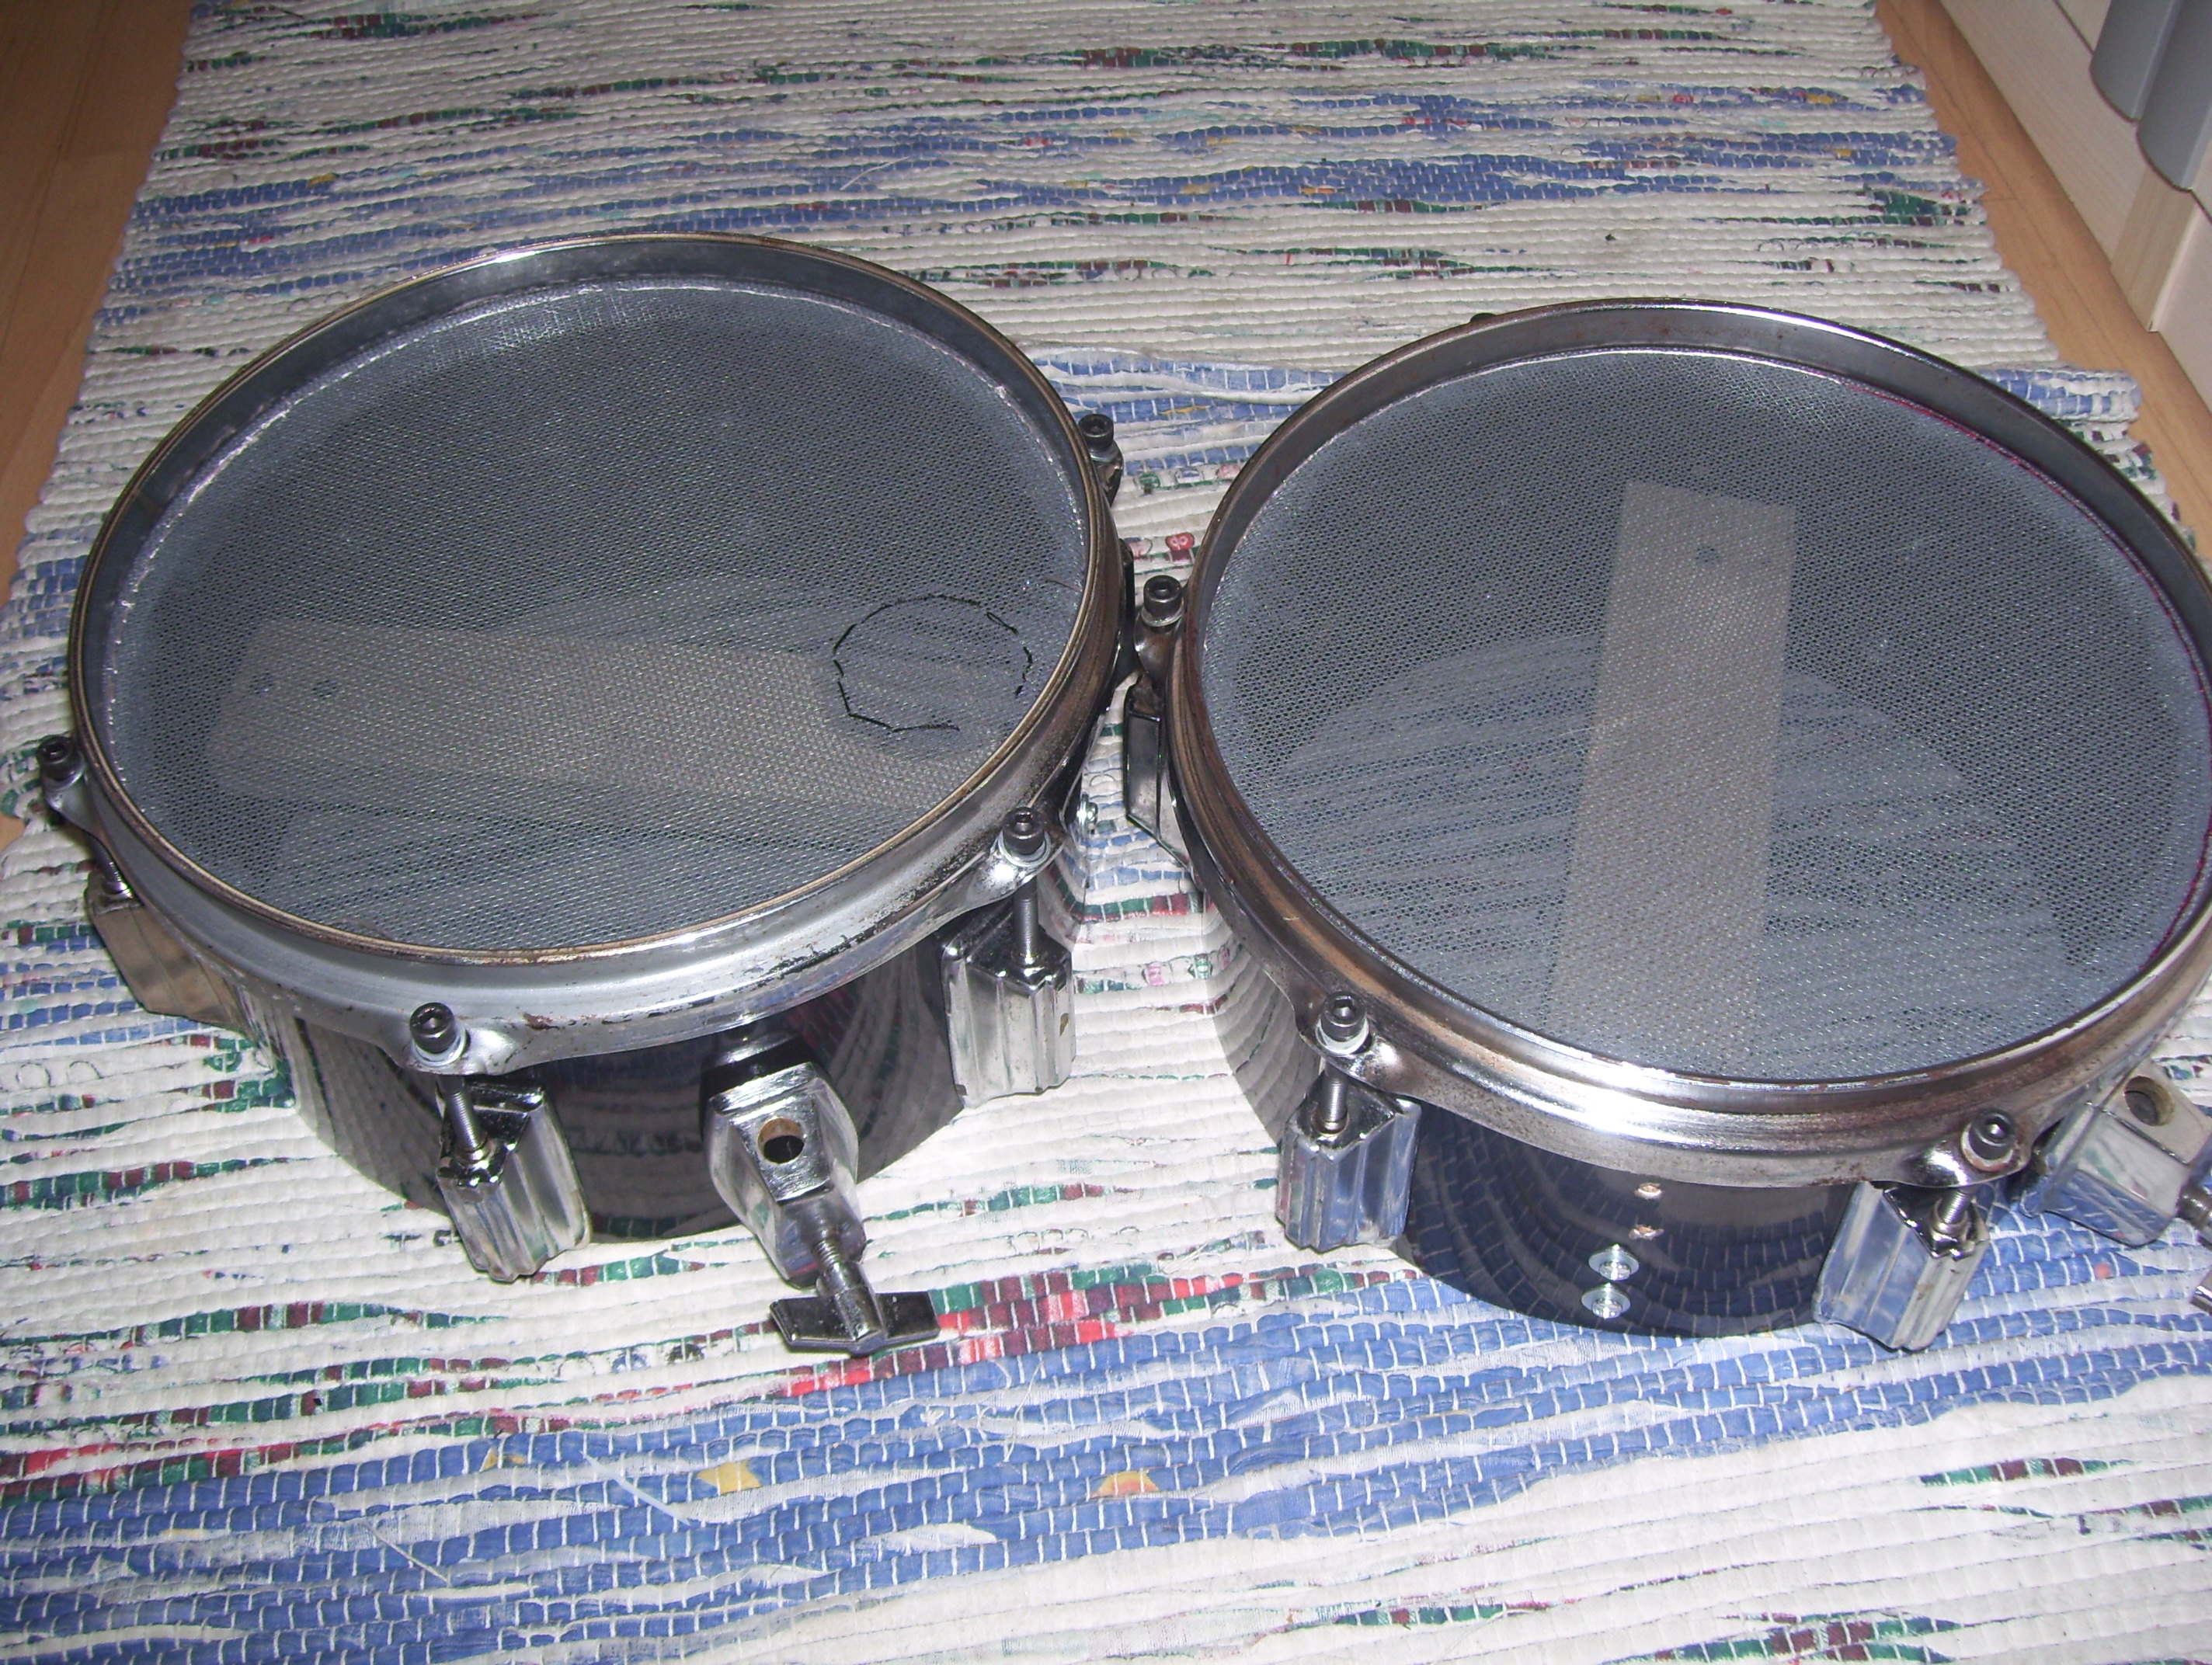
I installed a rack under the drum heads to hold the triggers.
3. Drum Module
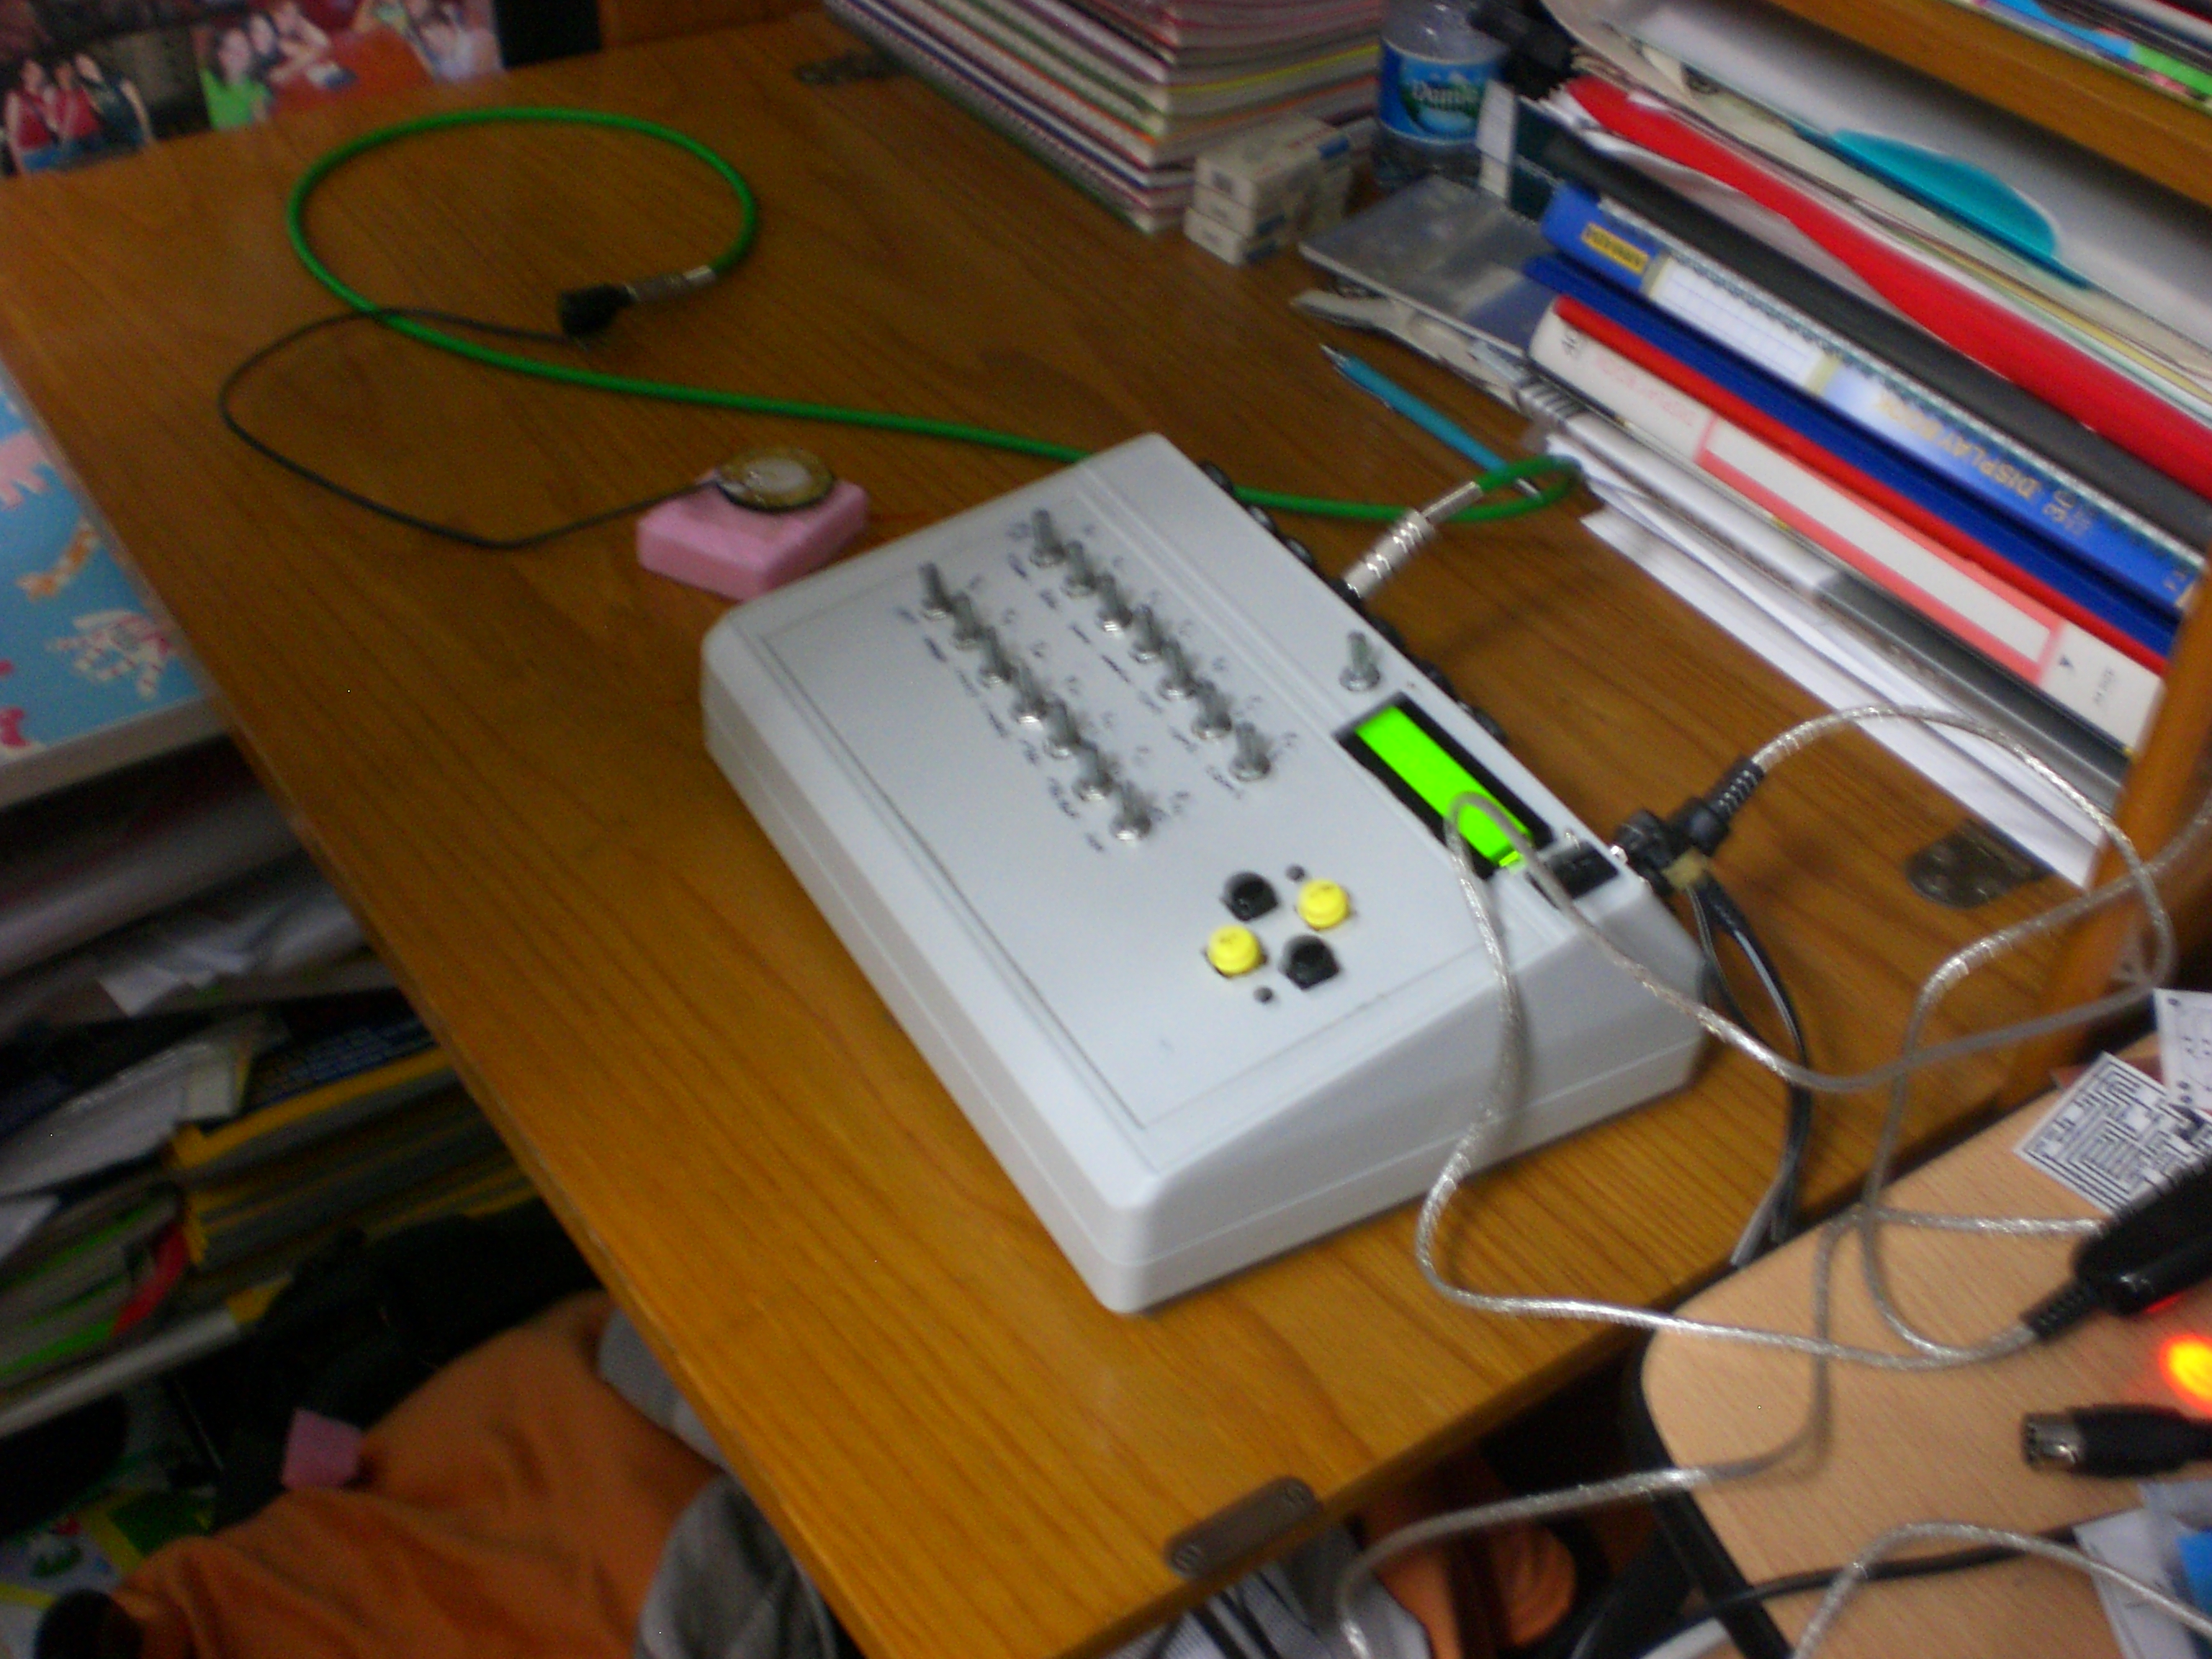
At first, I used a Medeli DD-505 as the drum module, which I bought online. It worked fine initially but didn’t provide enough sensitivity. So, I decided to build my own module. I found a module schematic on the same website that inspired me to start. Admir’s Site describes a MIDI trigger that processes signals from the piezos and converts them into MIDI notes with velocities to send to a computer. After a few attempts, I managed to build it successfully. I created the printed circuit boards using the ironing method, soldered all the components, and completed the wiring. For the firmware installation on the PIC, I got help from a local electronics store. I tested it with Superior Drummer in Cubase, and you can check out the videos below:

This was an incredible project that broadened my skills and perspective. I enjoyed every step of the process. It may not be as perfect as a high-end e-drum kit, but it’s more than good enough for practice and improving my drumming.
Thanks for reading.
