Building a 3d Printer
Hi everyone! With 3D printers becoming so popular, I couldn’t resist diving in myself. Originally, I started building a CNC (Computer Numerical Control) machine, but before I could finish, I realized it would be far too noisy for my apartment. So, I decided to convert it into a 3D printer. CNC machines and 3D printers have a lot in common—the underlying principles are very similar.
There’s a wealth of information online about building 3D printers, so I didn’t even need to ask questions. I managed to find solutions to every problem I faced, with RepRap and its sub-forums being my main sources. The model I chose was the Prusa i3 Steel. I went with this model because it’s more rigid and stable than other Prusa models. You can find all the necessary information and design files for it on reprap.org. Building a 3D printer isn’t as complicated as it might sound; the process is fairly straightforward. First, you need to decide on a model, keeping in mind the materials and parts you’ll need to source or make. I was lucky to find a good deal on some second-hand Prusa i3 Steel body parts online. They came from someone who had started the project but never finished. Before that, I had tried to build a wooden frame, but after considering the stability, I decided to switch.
For the extruder’s cold end, I ordered all the necessary parts from 3D Hubs. I initially paired it with a budget hot end from China, but unsurprisingly, it clogged after a couple of prints. Eventually, I upgraded to an E3D Lite from the E3D company, which has been fantastic. So far, I’ve printed nearly 200 parts and gone through five filament rolls without any issues. The product’s design and material quality really stand out. If you’re building a 3D printer, I’d recommend avoiding unknown or cheap hot ends, as they can make maintenance frustrating.
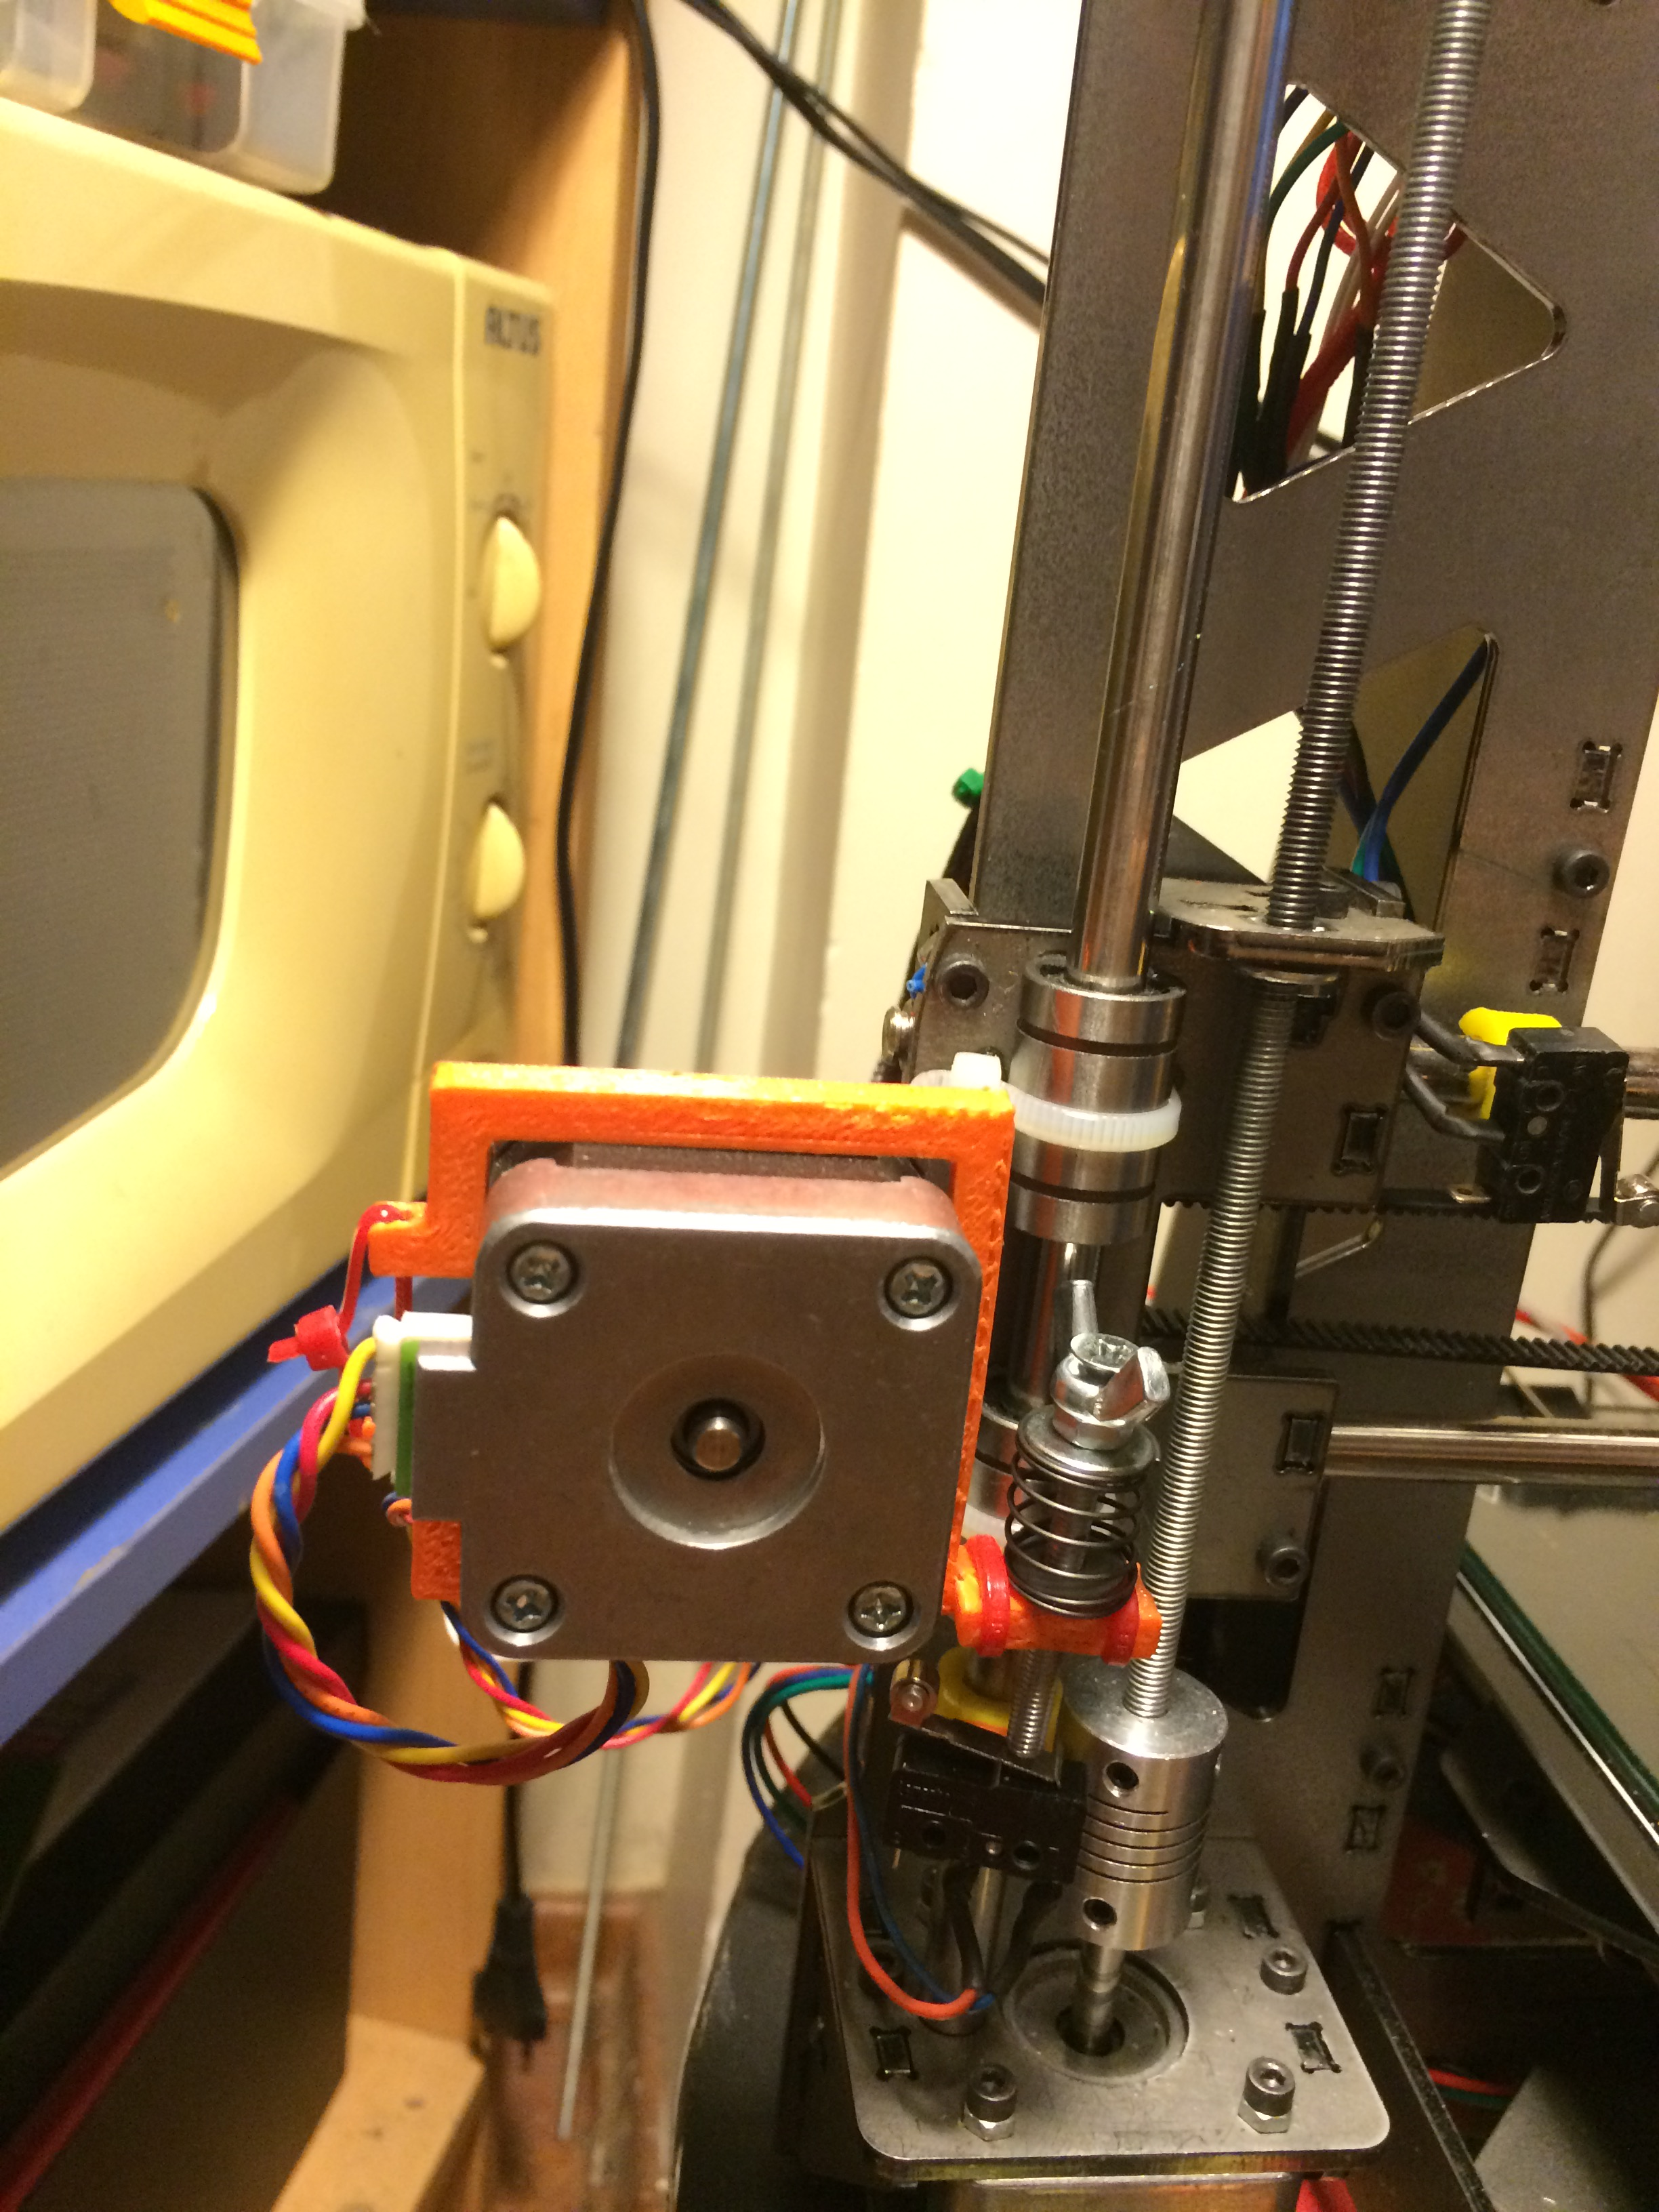
For the electronics, I used an Arduino Mega 256 with a RAMPS shield, with Marlin as the firmware. Before assembling, I checked all the connections with a multimeter and tested it using three NEMA23 stepper motors, and everything worked smoothly.
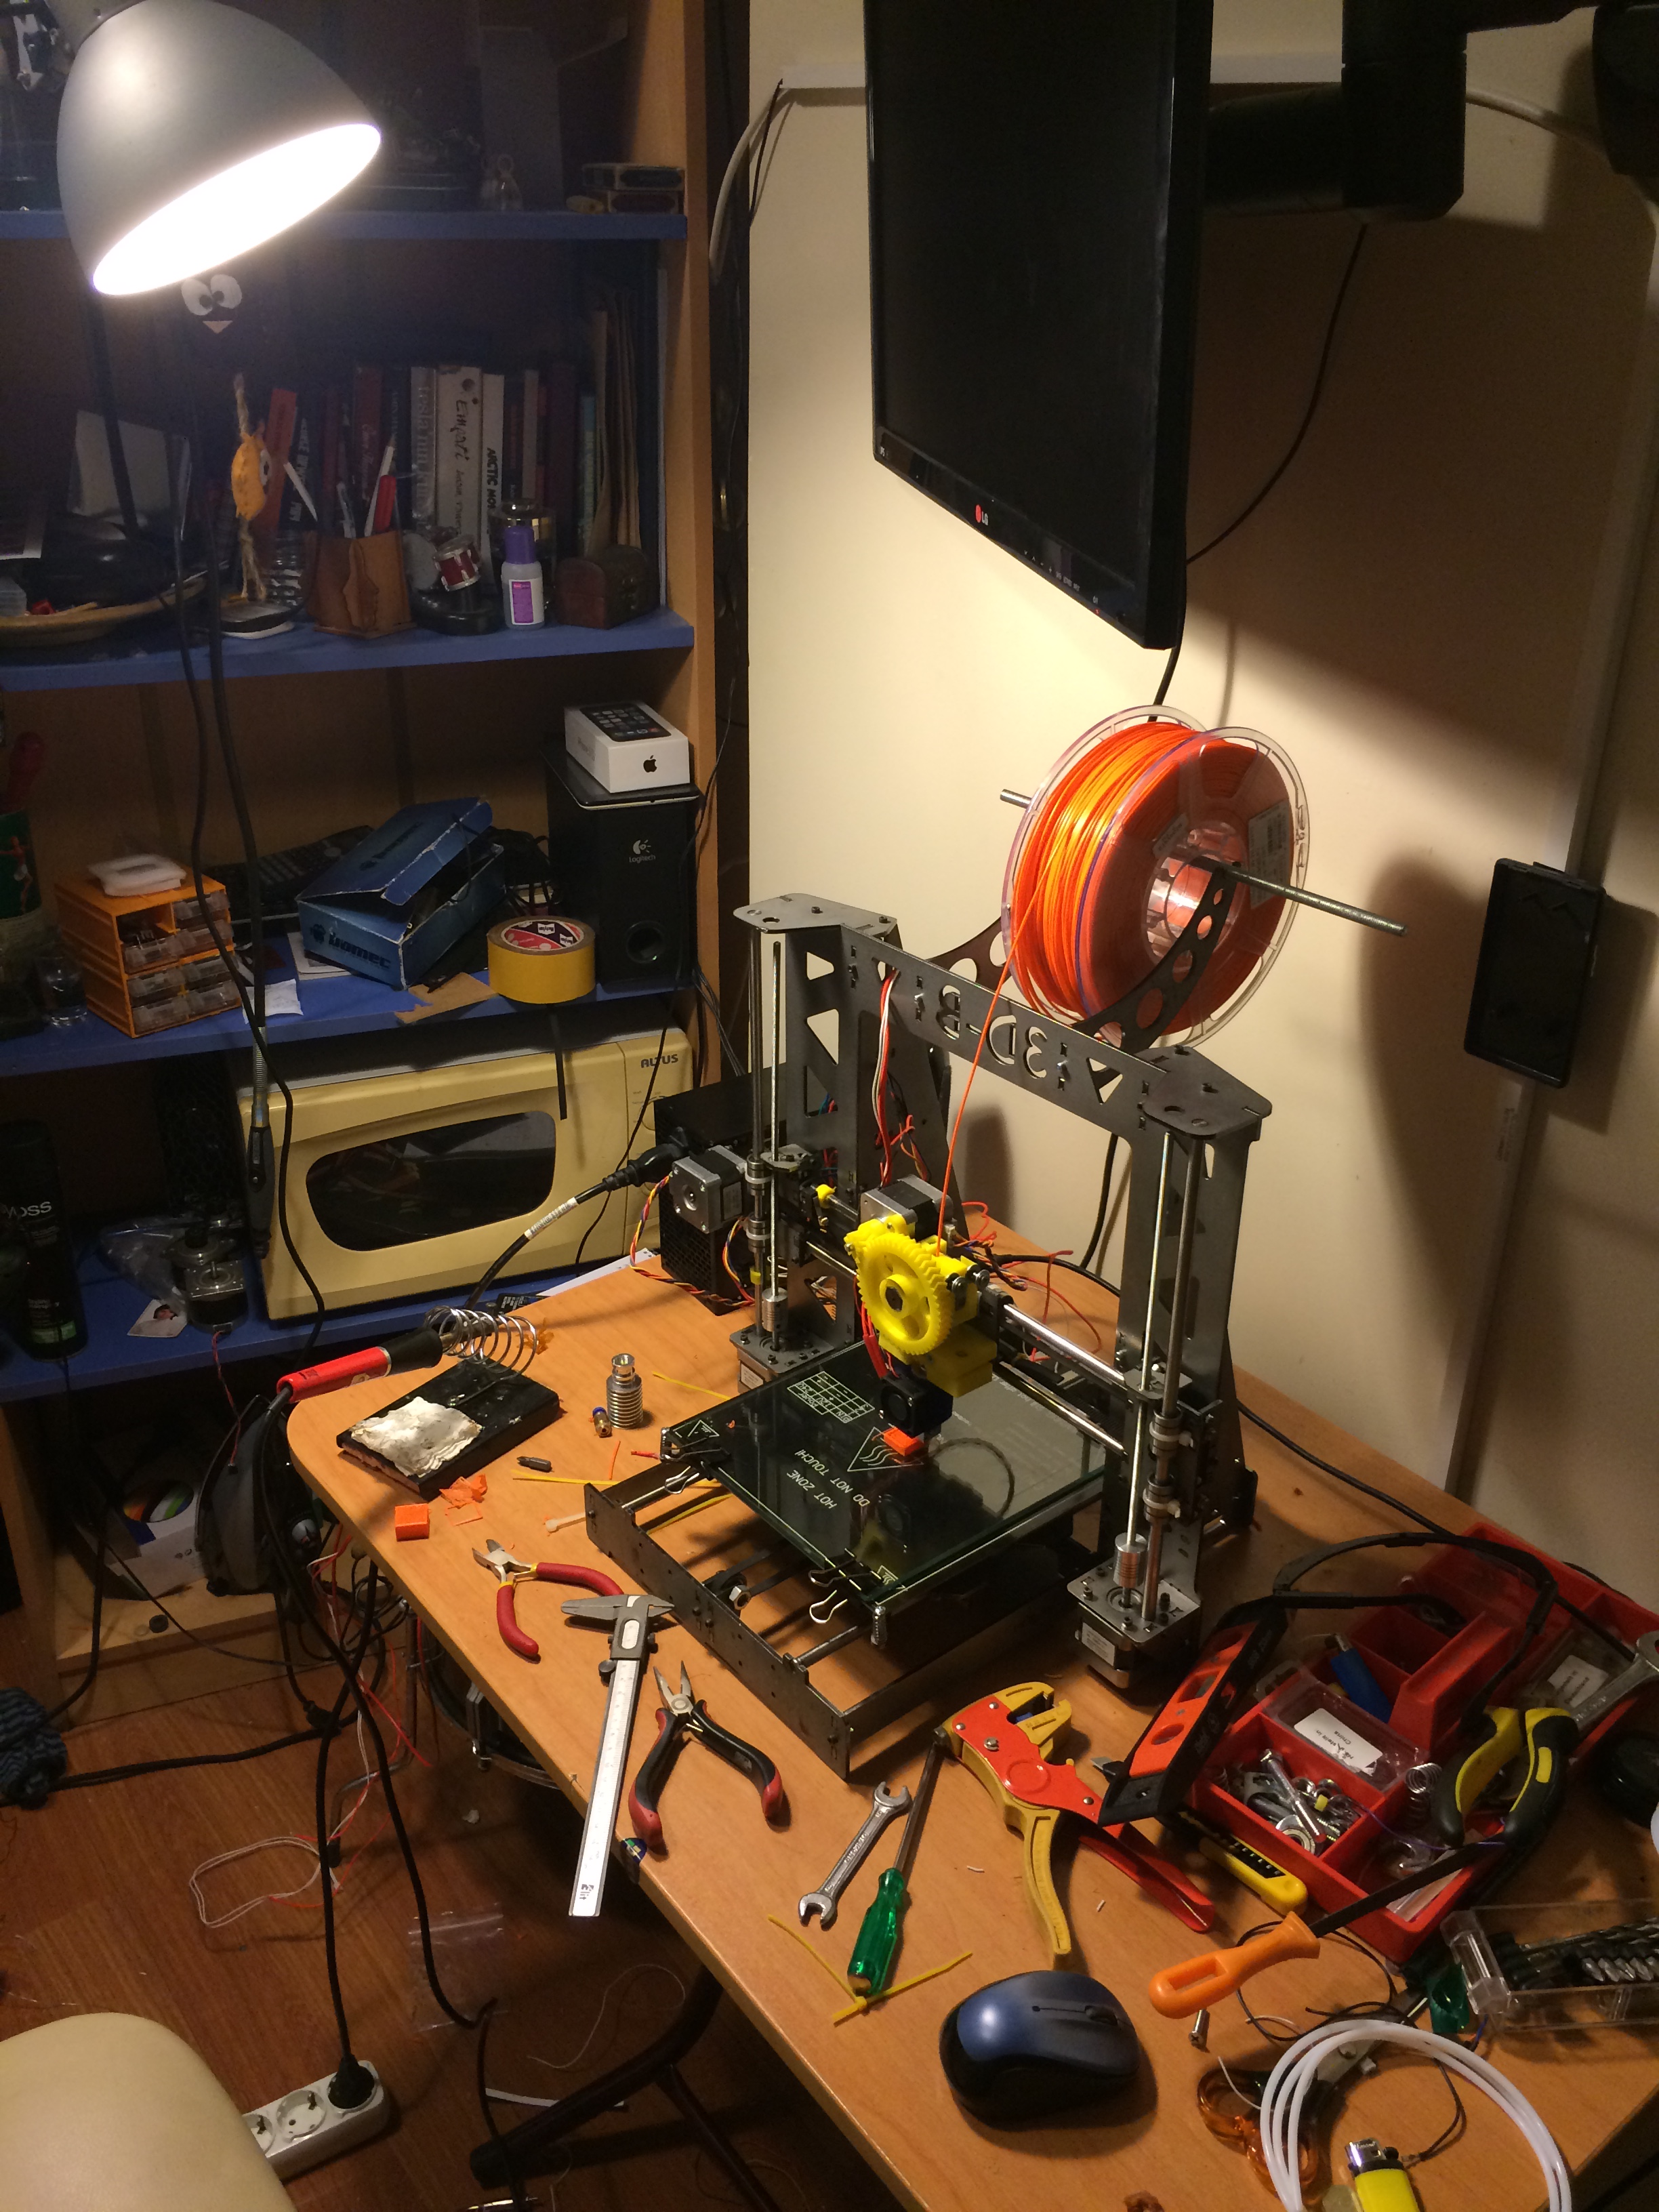
Once the assembly was complete, this is how it looked.
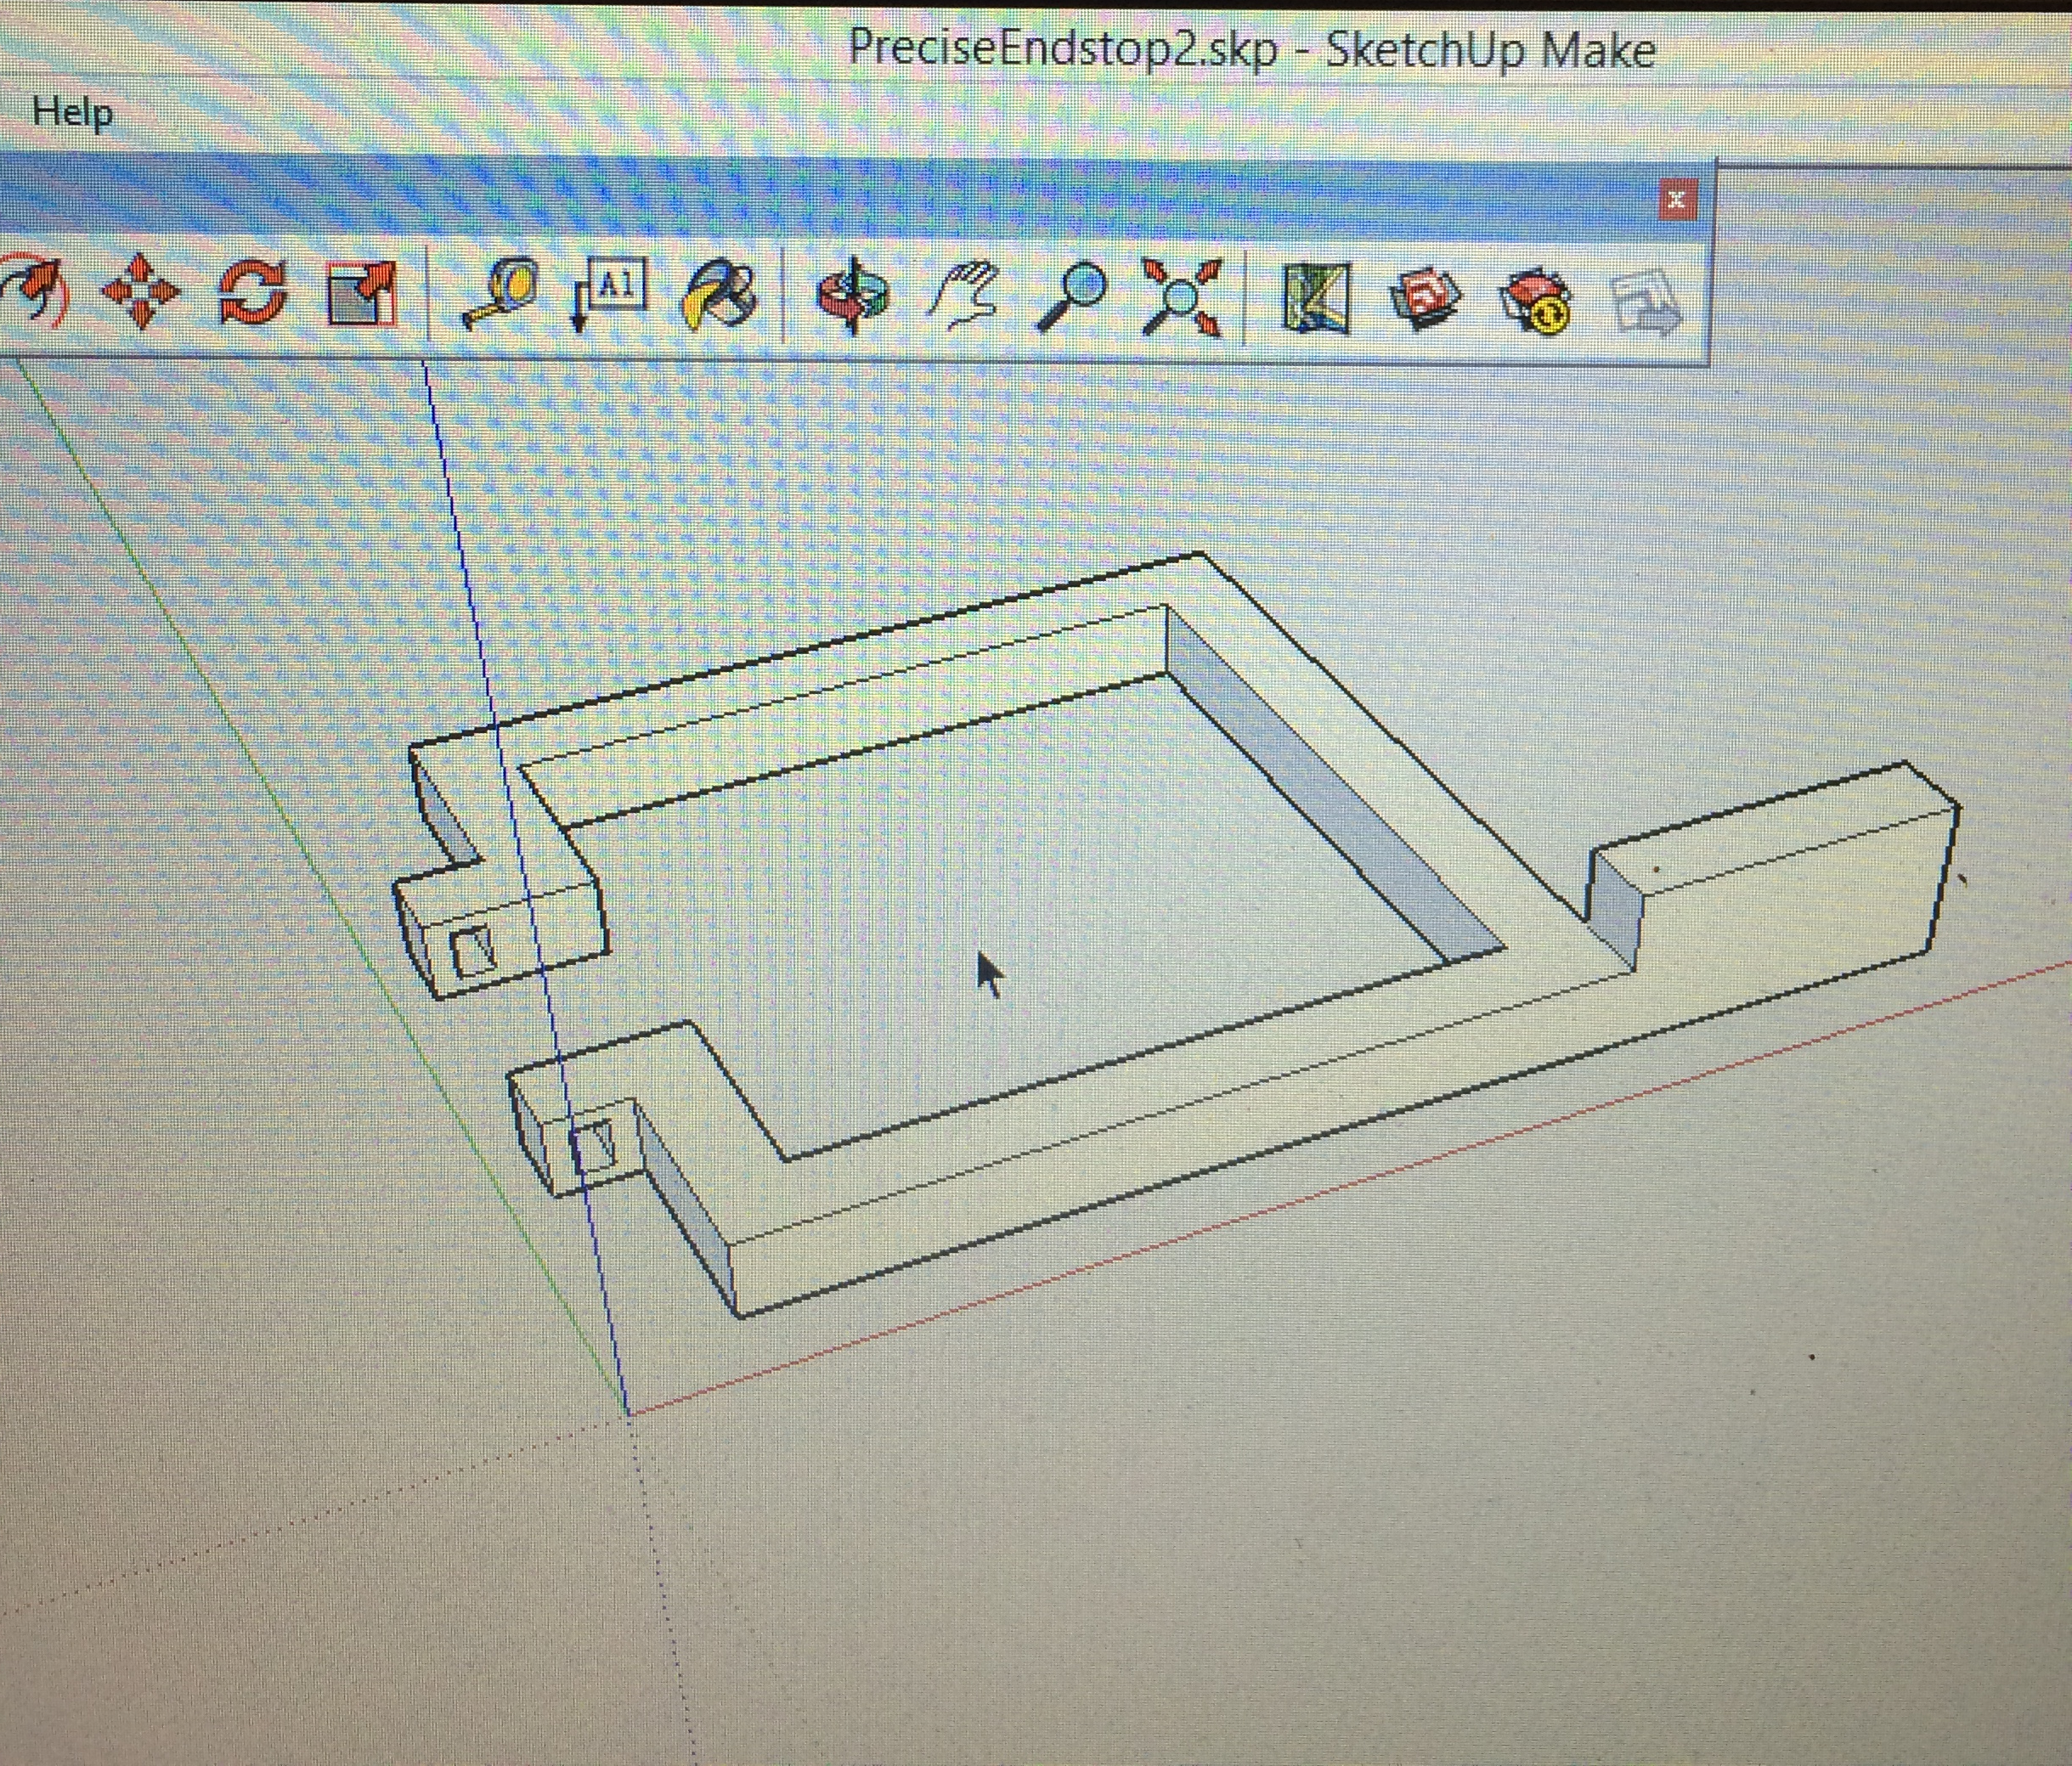
I initially tried using some end stops I found on Thingiverse, but they lacked fine-tuning adjustment. In the end, I designed my own Z-axis end stop in SketchUp, which can be attached to the step motor and remains stable during printing. I even added a fine-tune adjustment with a screw. It worked out great!
Overall, it’s amazing to come up with an idea, create it, and hold it in your hands within minutes. The experience has been incredibly rewarding!